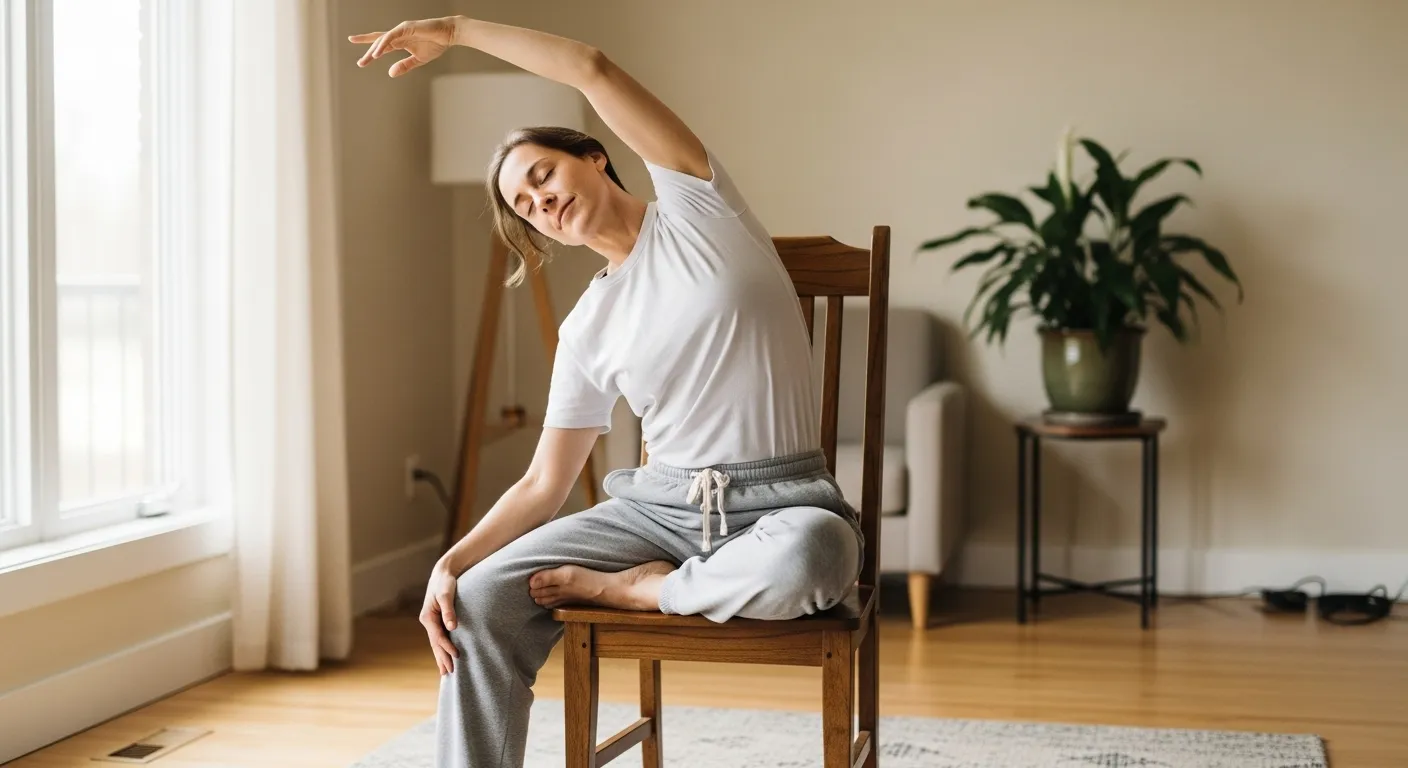
Welcome! It is a wonderful thing to seek out ways to keep your body moving and your spirit bright. As we age, staying active is one of the most powerful gifts we can give ourselves, but it’s not always easy to find activities that feel both safe and effective. That is where the beautiful practice of chair yoga comes in.
Chair yoga is a gentle form of yoga that is practiced while sitting on a chair, or using a chair for support. It offers the same remarkable benefits as traditional yoga—such as improved flexibility, better balance, increased strength, and a calmer mind—all without the need to get up and down from the floor. It is one of the most accessible yoga exercises for people of all fitness levels and abilities.
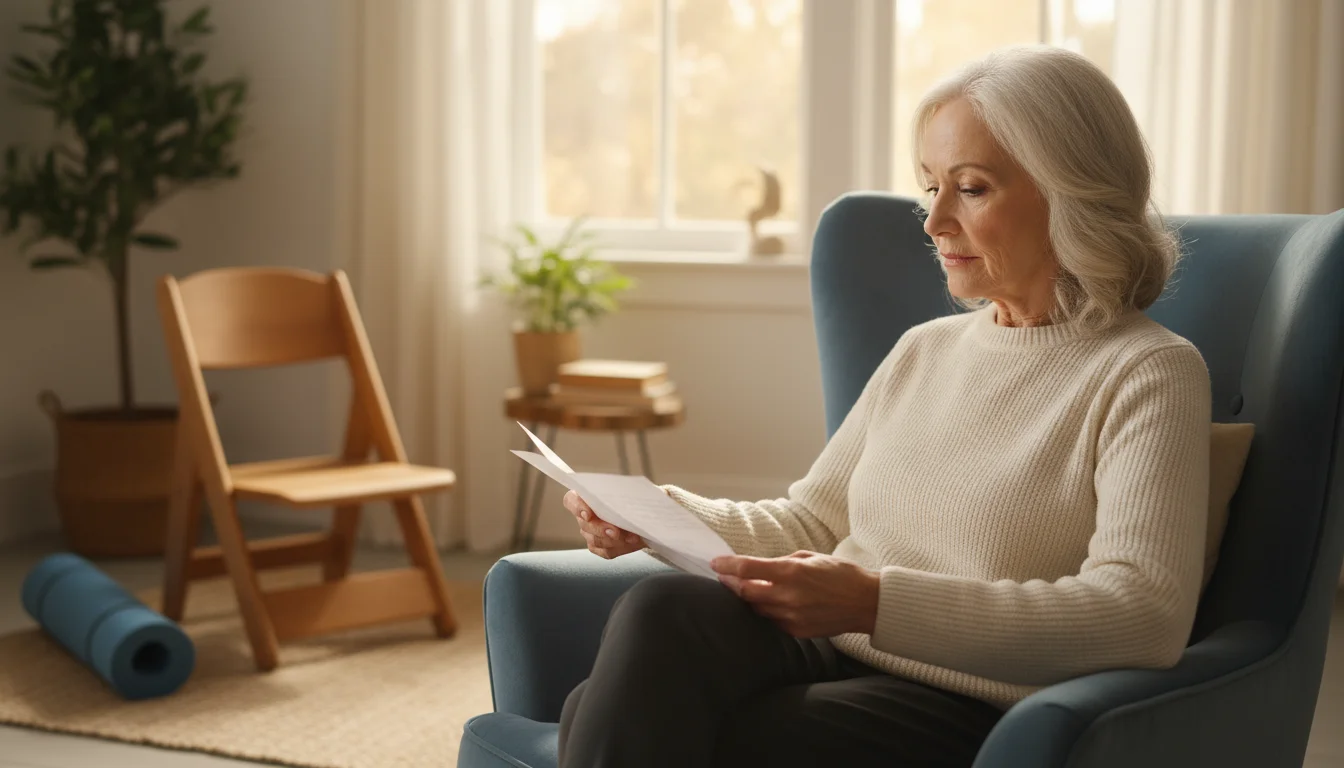
This guide is designed to be your trusted companion. We will walk you through everything you need to know to start your own home chair yoga practice, from setting up your space to moving through a complete, full-body routine. Our goal is to empower you to move with confidence, listen to your body, and enjoy the journey to greater well-being.
Before You Begin: Setting Up for Success and Safety
A few moments of preparation can make all the difference in your practice. Creating a safe and comfortable environment allows you to relax and focus on your movements, ensuring you get the most out of every session.
Why this is important: A proper setup is the foundation of a safe exercise routine. It minimizes the risk of injury, prevents distractions, and helps you feel secure, which is essential for both physical and mental relaxation.
How to prepare your space:
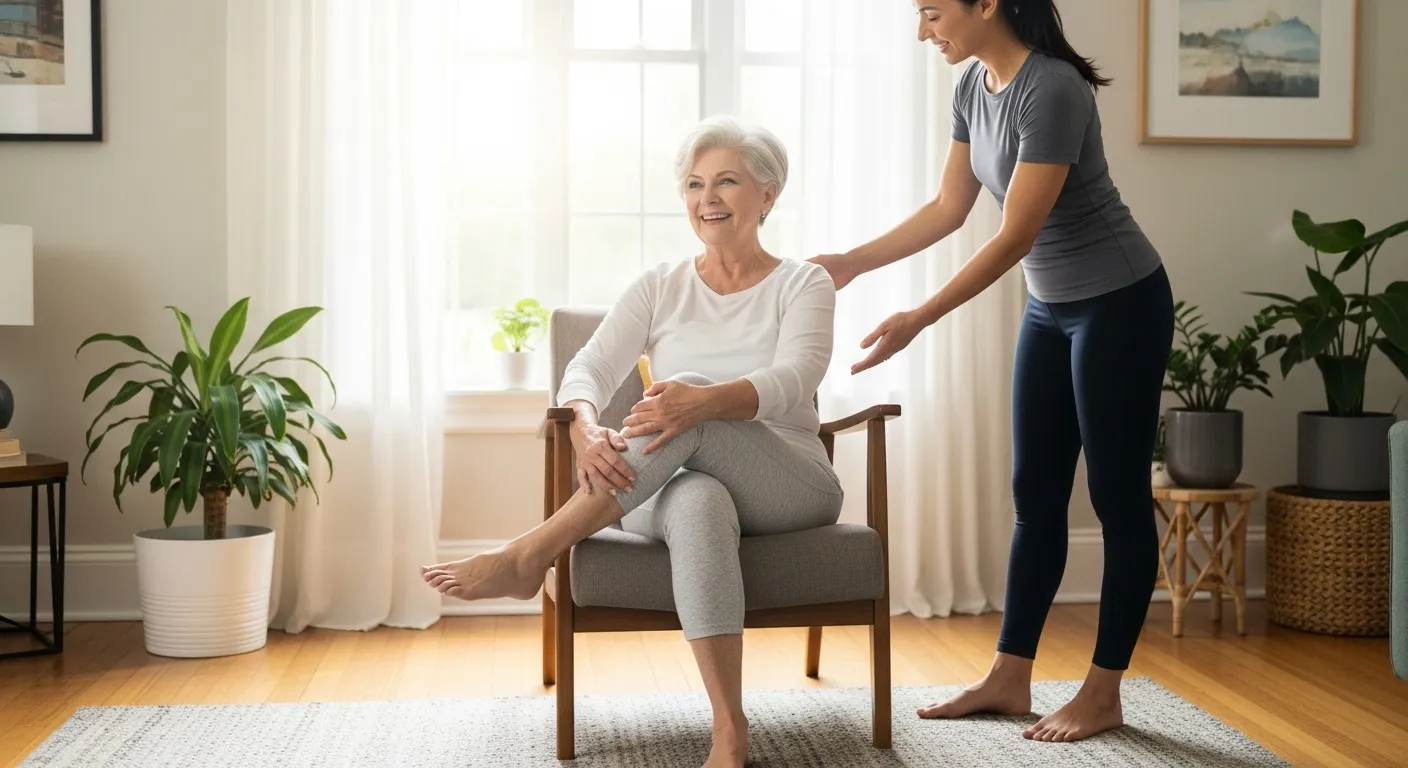
- Talk to Your Doctor First: This is the most important step. Before starting any new exercise program, including chair yoga for seniors, please consult with your physician or physical therapist. They can advise you on any movements you should modify or avoid based on your personal health history.
- Choose the Right Chair: Your chair is your most important piece of equipment. Select a sturdy, stable chair that does not have wheels. An armless dining chair is often perfect. When you sit, your feet should be able to rest flat on the floor with your knees bent at a 90-degree angle. If your feet don’t reach, place a firm cushion or a couple of thick books under them for support.
- Find a Clear, Safe Space: Set up your chair in an area with plenty of room around it. You should be able to extend your arms to the sides and front, and your legs forward, without bumping into furniture. Place your chair on a non-slip surface, like a rug or a yoga mat, rather than a slick tile or wood floor.
- Wear Comfortable Clothing: Choose clothes that are loose, soft, and breathable. You want to be able to move freely without feeling constricted. Avoid anything too baggy that could get tangled in the chair.
- Always Listen to Your Body: This is the golden rule of yoga. Your body is your best teacher. Never push into a position that causes sharp or shooting pain. You are looking for a gentle stretch, not a strain. If something doesn’t feel right, gently ease out of the pose. Remember, the goal is to feel better, not to force yourself into a particular shape.
The Foundation: Proper Posture and Breathing
Before we move, we must learn to be still. The way you sit and the way you breathe are the cornerstones of your practice. Mastering these fundamentals will enhance every single pose you do.
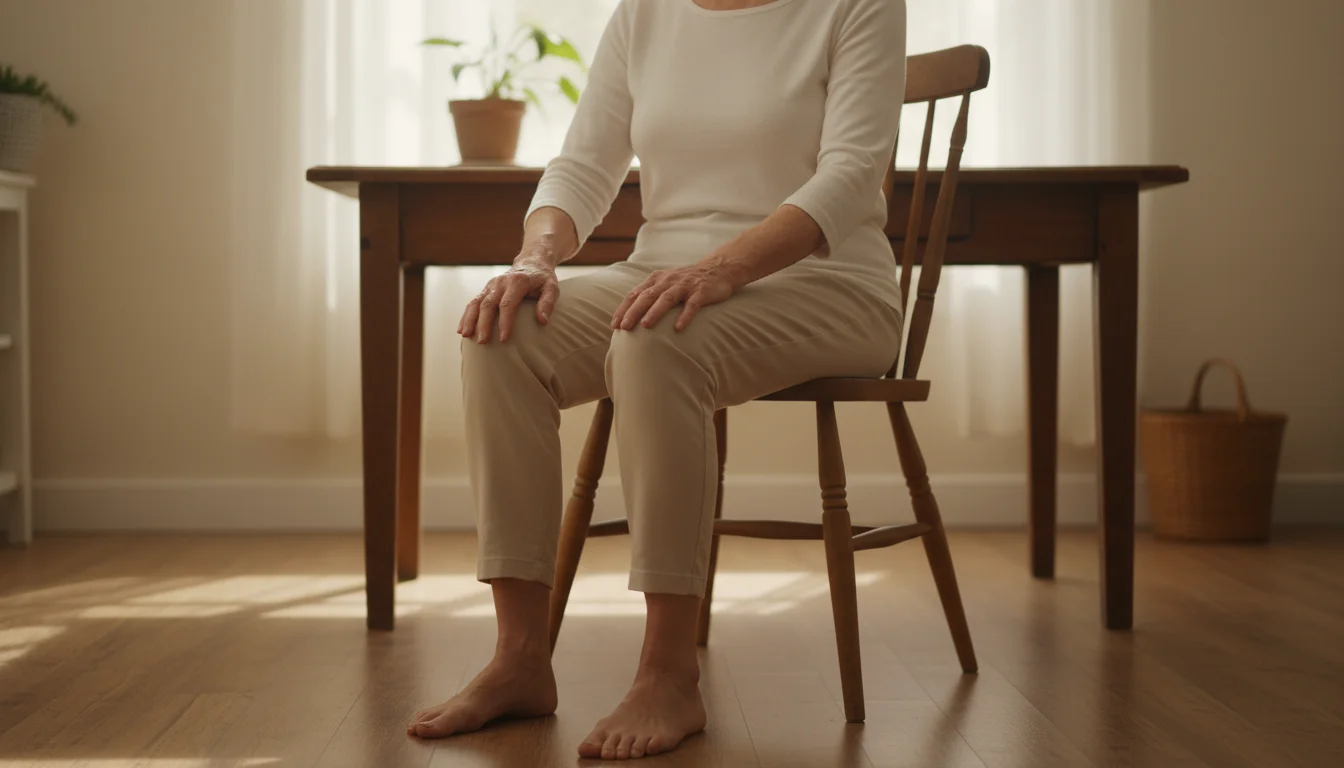
Finding Your Seated Mountain Pose (Tadasana)
Why this is important: This is your home base. Seated Mountain Pose helps you find a healthy, aligned posture, which can reduce back pain, improve digestion, and increase your energy. You will return to this pose between other exercises to reset and reconnect.
How to find your pose:
- Sit on your chair, moving slightly forward from the backrest so your spine is supporting itself.
- Place your feet flat on the floor, about hip-width apart. Make sure your knees are stacked directly above your ankles.
- Imagine a string is gently pulling the crown of your head up toward the ceiling. Feel your spine grow long and tall.
- Relax your shoulders, letting them drop down and away from your ears.
- Rest your hands lightly on your thighs, with your palms facing down or up, whichever feels more comfortable.
- Soften your gaze or gently close your eyes. Take a moment to feel grounded, stable, and tall.

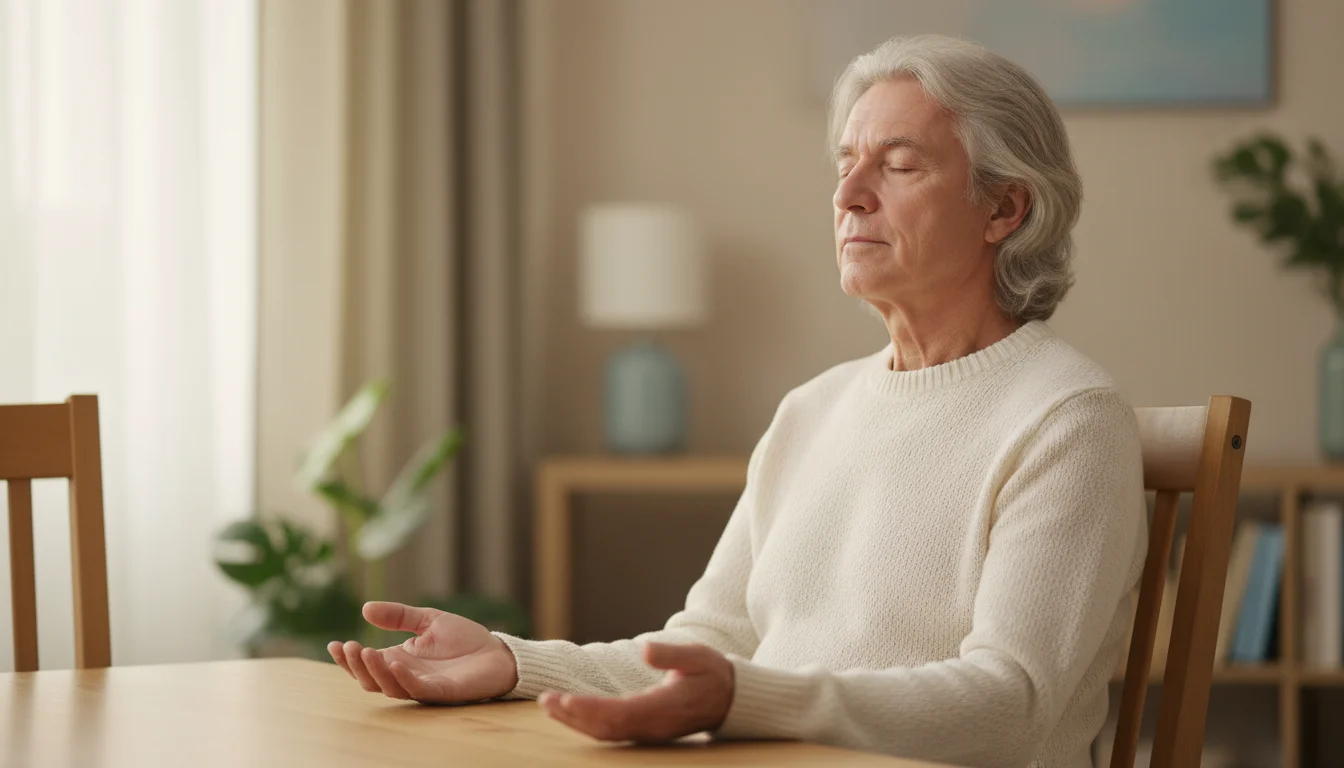
Mastering Diaphragmatic Breathing (Belly Breathing)
Why this is important: Deep belly breathing is a powerful tool for calming the nervous system. It can help lower blood pressure, reduce feelings of anxiety, and deliver more oxygen to your muscles and brain. It connects your mind to your body.
How to breathe deeply:
- While sitting in your Seated Mountain Pose, place one hand on your belly and the other hand on your chest.
- Take a slow, deep breath in through your nose for a count of four. As you inhale, focus on expanding your belly. The hand on your belly should move outward, while the hand on your chest stays relatively still.
- Gently hold the breath for a moment.
- Exhale slowly and completely through your mouth or nose for a count of six. Feel your belly button draw back toward your spine as the air leaves your body.
- Repeat this cycle 5-10 times, allowing your body and mind to settle.

A Gentle Warm-Up Routine (5-7 Minutes)
Warming up is essential for preparing your body for movement. These simple exercises will lubricate your joints and gently wake up your muscles, making the rest of your practice feel smoother and safer.

Neck Stretches
- Start in your Seated Mountain Pose. Inhale and sit tall.
- As you exhale, slowly and gently tilt your right ear toward your right shoulder. You should feel a light stretch along the left side of your neck. Hold for three deep breaths.
- Inhale to bring your head back to the center.
- Exhale and repeat on the left side, tilting your left ear toward your left shoulder. Hold for three breaths.
- Inhale back to center. Exhale and slowly lower your chin toward your chest, stretching the back of your neck. Hold for three breaths before inhaling back up. Never roll your head all the way back.

Shoulder Rolls
- Inhale and lift both shoulders up toward your ears, as if you are shrugging.
- Exhale and roll your shoulders back and then down, feeling your shoulder blades slide down your back.
- Repeat this movement 5 times slowly.
- Reverse the direction, inhaling to roll your shoulders forward and up, and exhaling to release them down. Repeat 5 times.
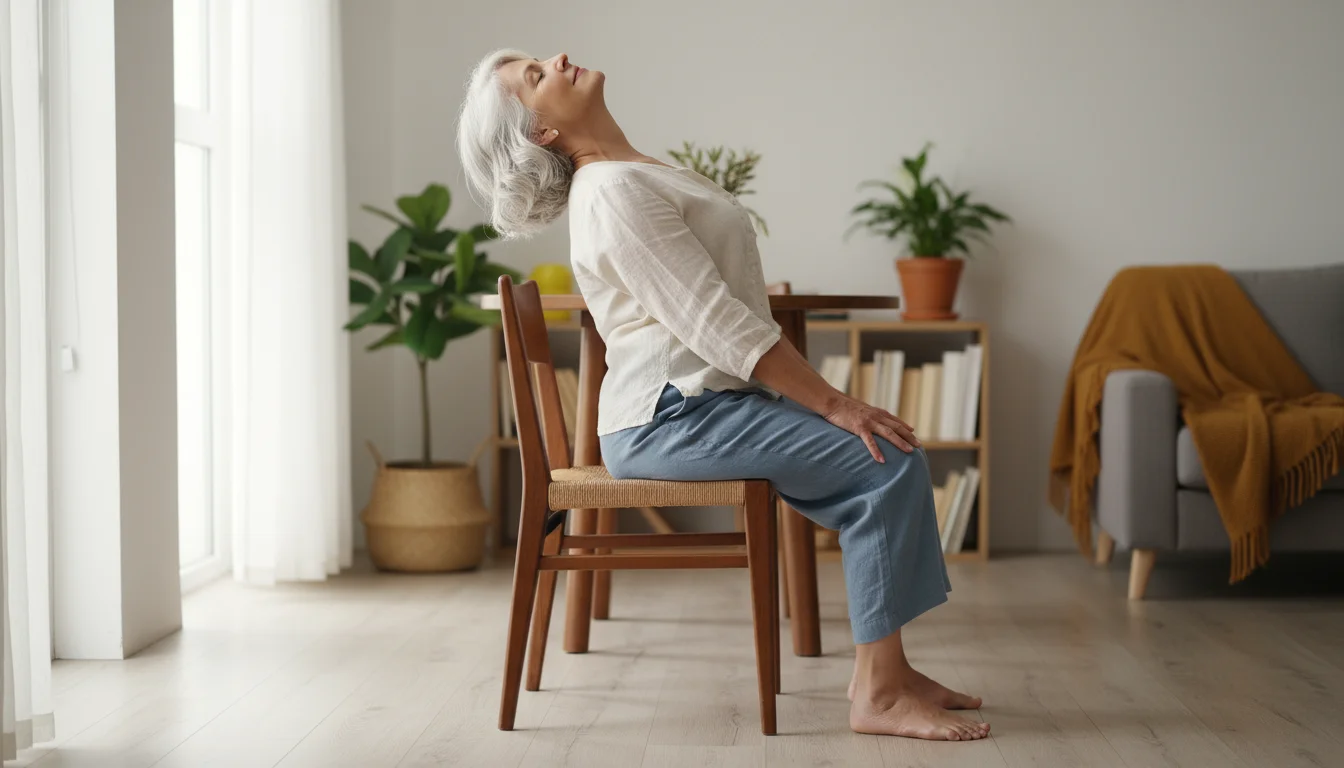
Seated Cat-Cow Stretch (Chakravakasana)
- Place your hands on your knees with your feet firmly on the floor.
- On an inhale (Cow Pose), gently arch your back, open your chest toward the front, and lift your gaze slightly. Think of shining your heart forward.
- On an exhale (Cat Pose), round your spine, tuck your chin toward your chest, and gently press your mid-back toward the chair’s backrest.
- Flow between these two poses for 5-8 rounds, letting your breath guide the movement. This is one of the best gentle yoga routines for spinal health.
The Main Event: A Full-Body Home Chair Yoga Routine
Now that you are warm, you are ready to move through a series of poses that will strengthen and stretch your entire body. Remember to move with your breath and honor your body’s limits.
Upper Body Strength and Flexibility
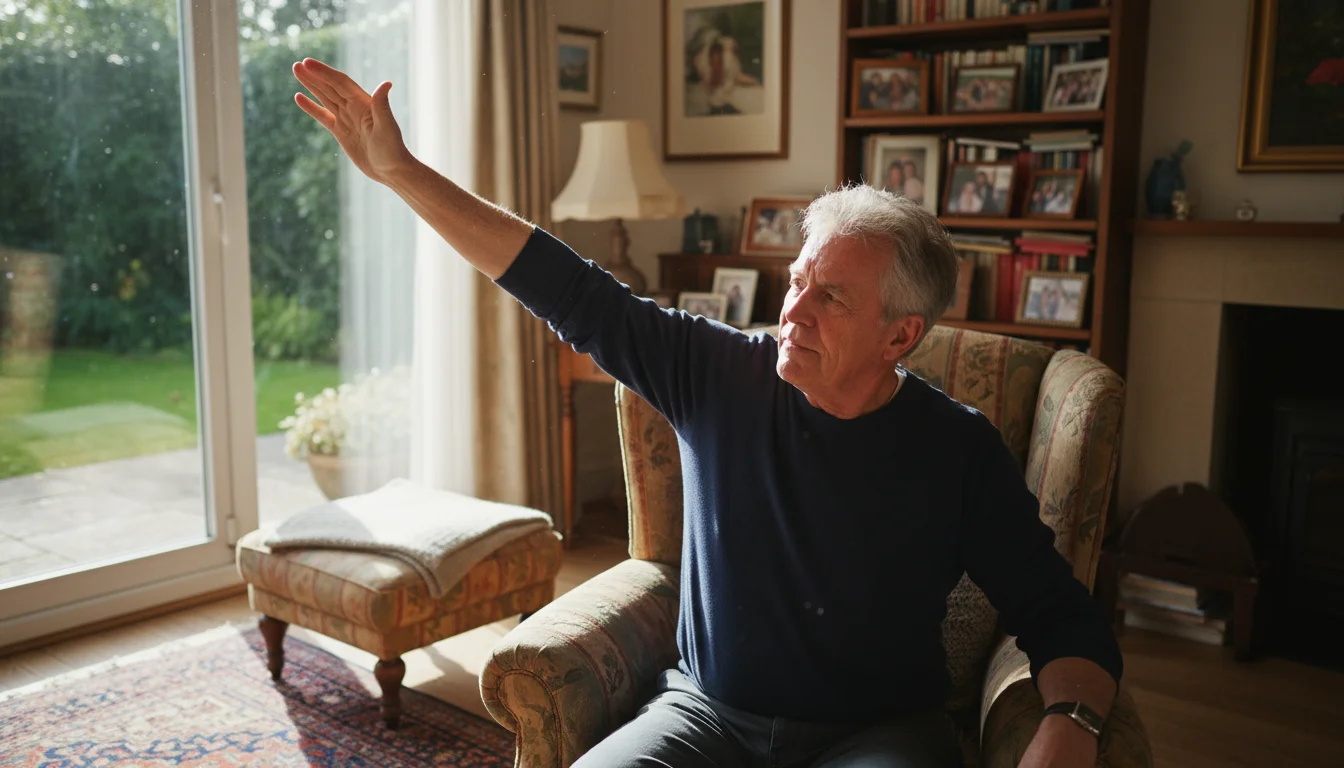
Chair Raised Hands Pose (Urdhva Hastasana)
Why it helps: This simple pose lengthens the spine, stretches the shoulders and side body, and improves posture.
- From your Seated Mountain Pose, take a deep breath in.
- As you inhale, sweep your arms out to the sides and all the way up toward the ceiling. Keep your shoulders relaxed.
- If you can, bring your palms to touch overhead. If not, just keep them shoulder-width apart.
- Hold for a breath, feeling the length from your hips to your fingertips.
- Exhale and slowly lower your arms back down to your lap. Repeat 3-5 times.
Seated Spinal Twist (Ardha Matsyendrasana)
Why it helps: Twists are wonderful for improving spinal mobility and can also aid in digestion. They provide a gentle “rinse” for the internal organs.
- Inhale and sit tall in your Seated Mountain Pose.
- As you exhale, begin to gently twist your upper body to the right.
- Place your left hand on the outside of your right thigh and your right hand on the back or side of the chair for support.
- Use your hands for gentle leverage, but let the twist come from your core. Keep both feet planted firmly.
- Turn your head to look over your right shoulder, but only as far as is comfortable for your neck.
- Hold for 3-5 breaths, then gently unwind on an exhale. Repeat on the left side.
Lower Body Strength and Balance
Chair Leg Lifts
Why it helps: This exercise strengthens the large quadriceps muscles at the front of your thighs. Strong quads are vital for supporting your knees and making activities like walking and climbing stairs easier.
- Sit tall, holding onto the sides of the chair for support if needed.
- On an inhale, engage your core and slowly extend your right leg straight out in front of you. Flex your foot, pointing your toes toward the ceiling.
- Hold for a moment, feeling the muscle at the front of your thigh working.
- On an exhale, slowly lower your foot back to the floor with control.
- Repeat 8-10 times on the right leg, then switch to the left leg.
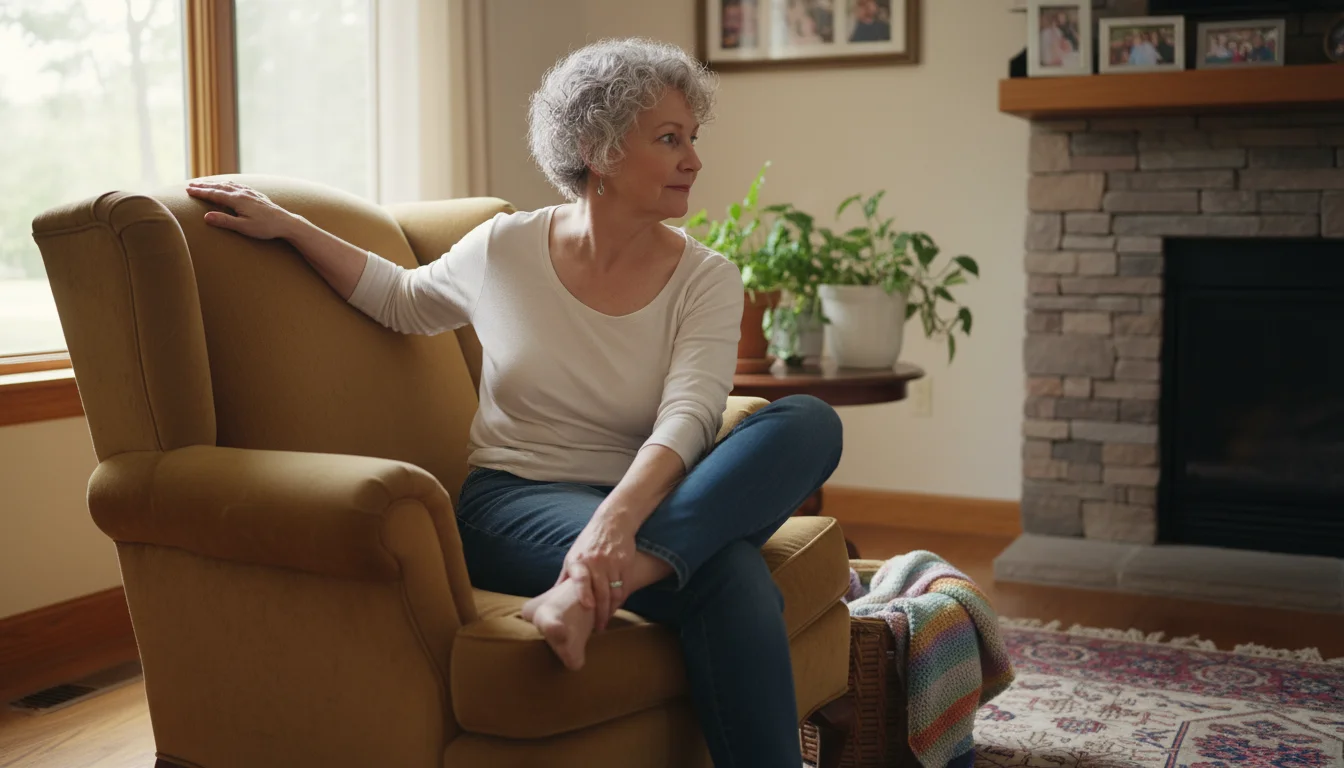
Chair Pigeon Pose (Eka Pada Rajakapotasana)
Why it helps: This is an excellent stretch for the outer hips and glutes. It can help relieve tightness and discomfort associated with sciatica.
- Sit in your Seated Mountain Pose.
- Carefully lift your right foot and cross your right ankle over your left knee, creating a “figure-four” shape. Keep your right foot flexed to protect your knee.
- If this is enough of a stretch, stay right here and breathe.
- For a deeper stretch, keep your back straight and begin to gently hinge forward from your hips. Stop when you feel a comfortable stretch in your right hip.
- Hold for 5-8 deep breaths. To come out, sit up and gently uncross your leg.
- Repeat on the other side.
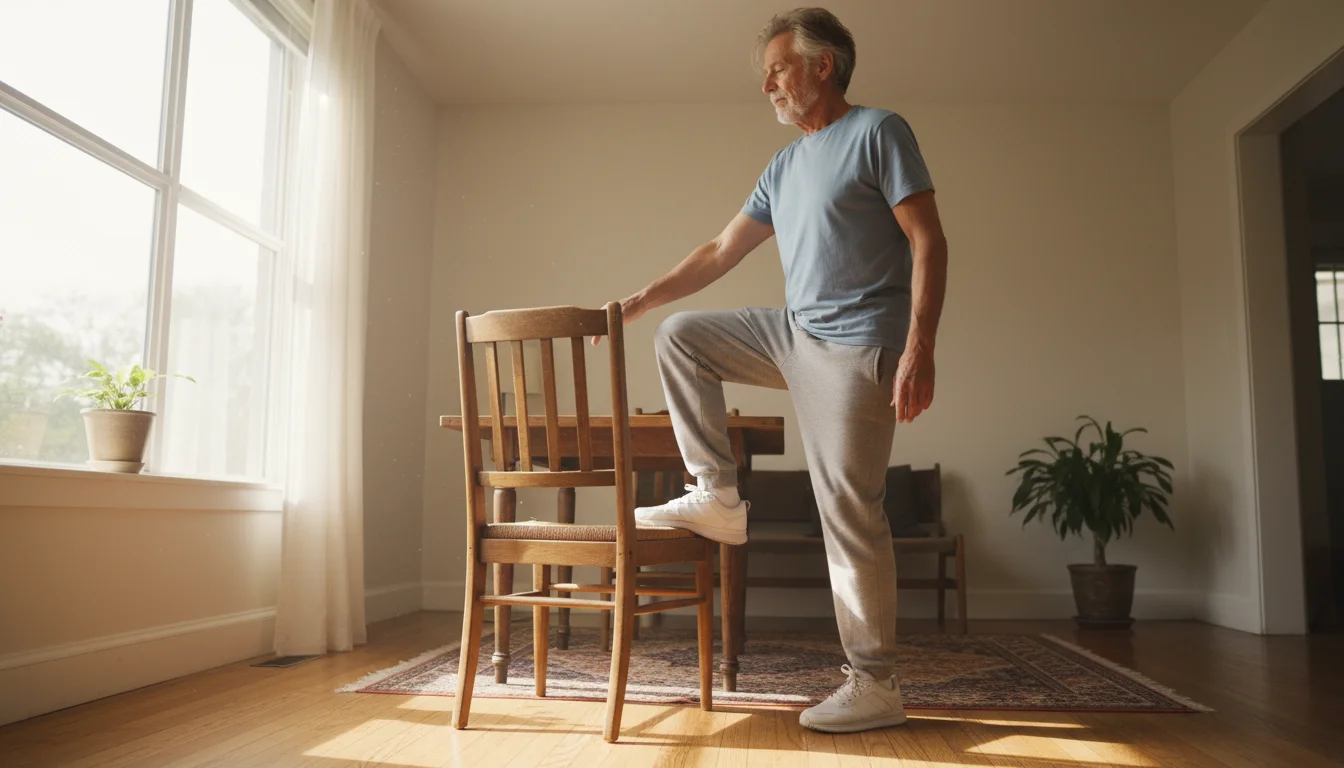
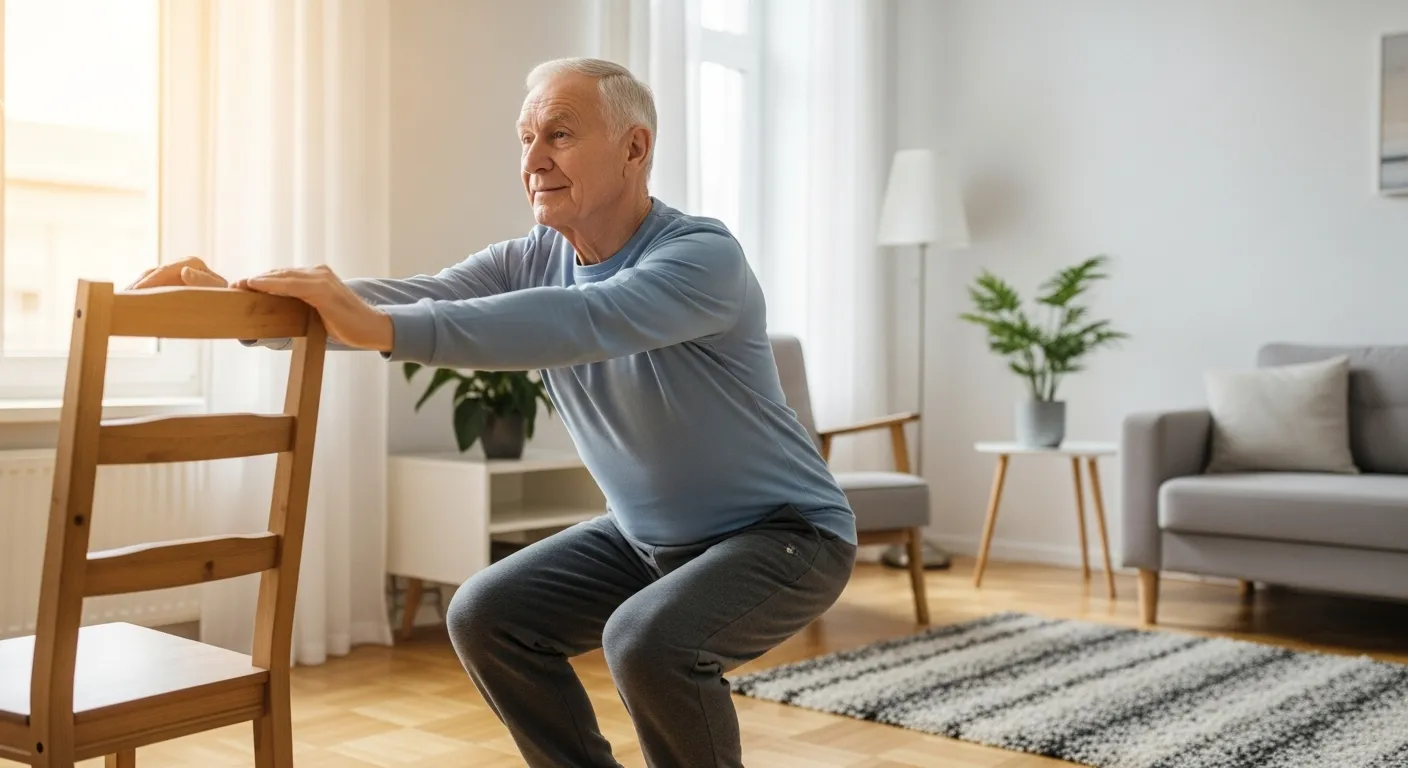
Standing Balance Practice (Using the Chair)
Why it helps: Balance is crucial for preventing falls. Using the chair for support allows you to build confidence and strength safely.
- Stand behind your sturdy chair, placing both hands on the backrest for support.
- Plant your feet firmly on the floor, hip-width apart. Stand tall.
- Shift your weight into your left foot. Slowly lift your right foot off the floor just an inch or two.
- Hold for 10-15 seconds, focusing on a spot in front of you to help with balance.
- Lower your foot and repeat on the other side. As you get stronger, you can try lifting your foot higher or holding for longer. You can even progress to resting one hand on your hip.
Cooling Down and Final Relaxation
Just as a warm-up is important, a cool-down is vital for helping your body transition from activity to rest. This is where your body and mind absorb the benefits of your practice.
Why this is important: A proper cool-down helps prevent muscle soreness, lowers your heart rate gradually, and signals to your nervous system that it’s time to relax and repair.
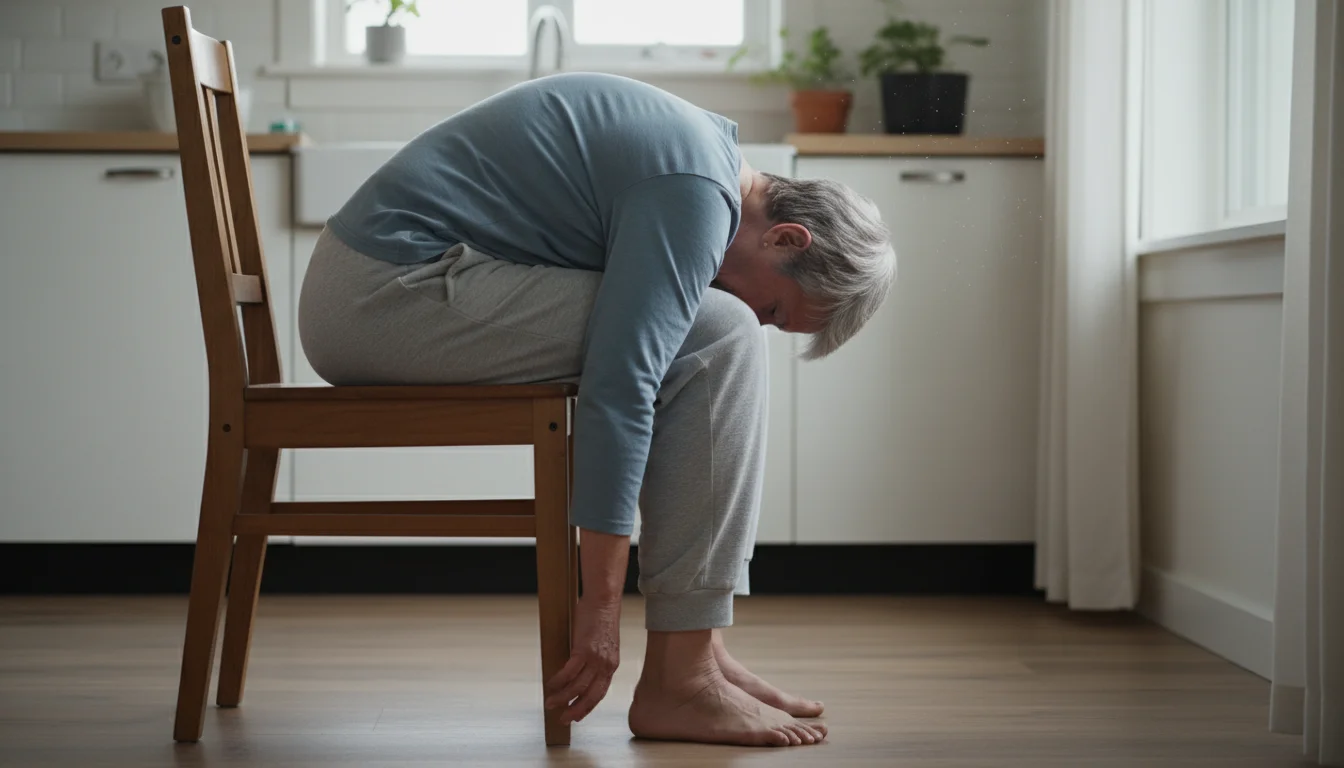
- Seated Forward Fold: Sit comfortably in your chair. On an exhale, hinge at your hips and gently fold your torso over your thighs. Let your head and neck hang heavy. Rest your arms alongside your legs. Breathe deeply into your back for 5-8 breaths, then slowly roll up to sitting.
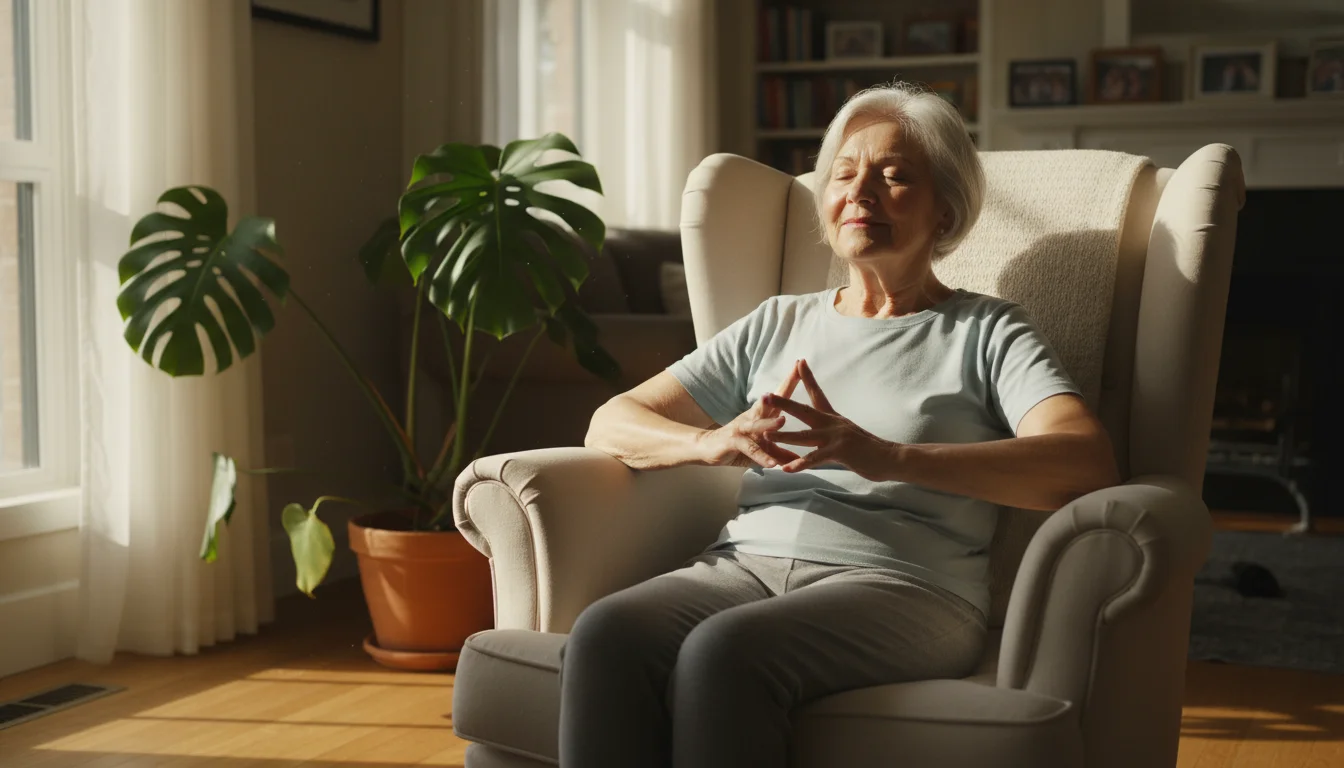
- Final Relaxation (Savasana in a Chair): This may be the most important pose of all. Sit back fully in your chair, so your entire back is supported. Let your feet fall open and rest your hands in your lap with palms facing up, a sign of receptivity. Close your eyes. Release any control over your breath and simply rest. Allow yourself 3-5 minutes of quiet stillness. Notice the sensations in your body and the calm in your mind.
Conclusion: Embrace Your Well-Being Journey
You did it! By completing this practice, you have given yourself a wonderful gift. You’ve moved your body, calmed your mind, and taken a positive step toward greater health and vitality. Be proud of the time and care you’ve dedicated to yourself today.
Remember that with gentle yoga routines, consistency is far more important than intensity. A short, 15-minute practice a few times a week can have a profound impact on your physical and mental well-being. Continue to listen to your body, celebrate your progress, and enjoy the incredible journey of moving with strength and grace. We are so glad to be on this path with you.
For expert guidance on senior health and finance, visit Centers for Medicare & Medicaid Services (CMS), Social Security Administration (SSA), Consumer Financial Protection Bureau (CFPB), Administration for Community Living (ACL) and Eldercare Locator.
|
Fact-Checked Content
Our editorial team reviews all content for accuracy and updates it regularly. Learn about our editorial process →
|


Leave a Reply