Embracing your creative side is one of the great joys of retirement. It’s a wonderful way to keep your mind engaged, your hands busy, and your spirit bright. But starting a new hobby doesn’t have to mean spending a lot of money on fancy supplies. In fact, some of the most beautiful and meaningful projects can be made with items you already have around the house or can find for just a few dollars.
This guide is filled with practical and budget-friendly crafts for seniors that are designed to be enjoyable, accessible, and easy on your wallet. Whether you consider yourself a natural artist or are just looking for new senior creative activities to fill your days, there’s something here for you. Let’s explore some delightful ways to unleash your creativity without straining your budget.

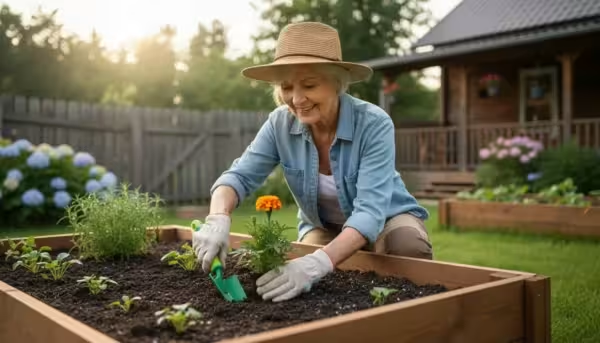
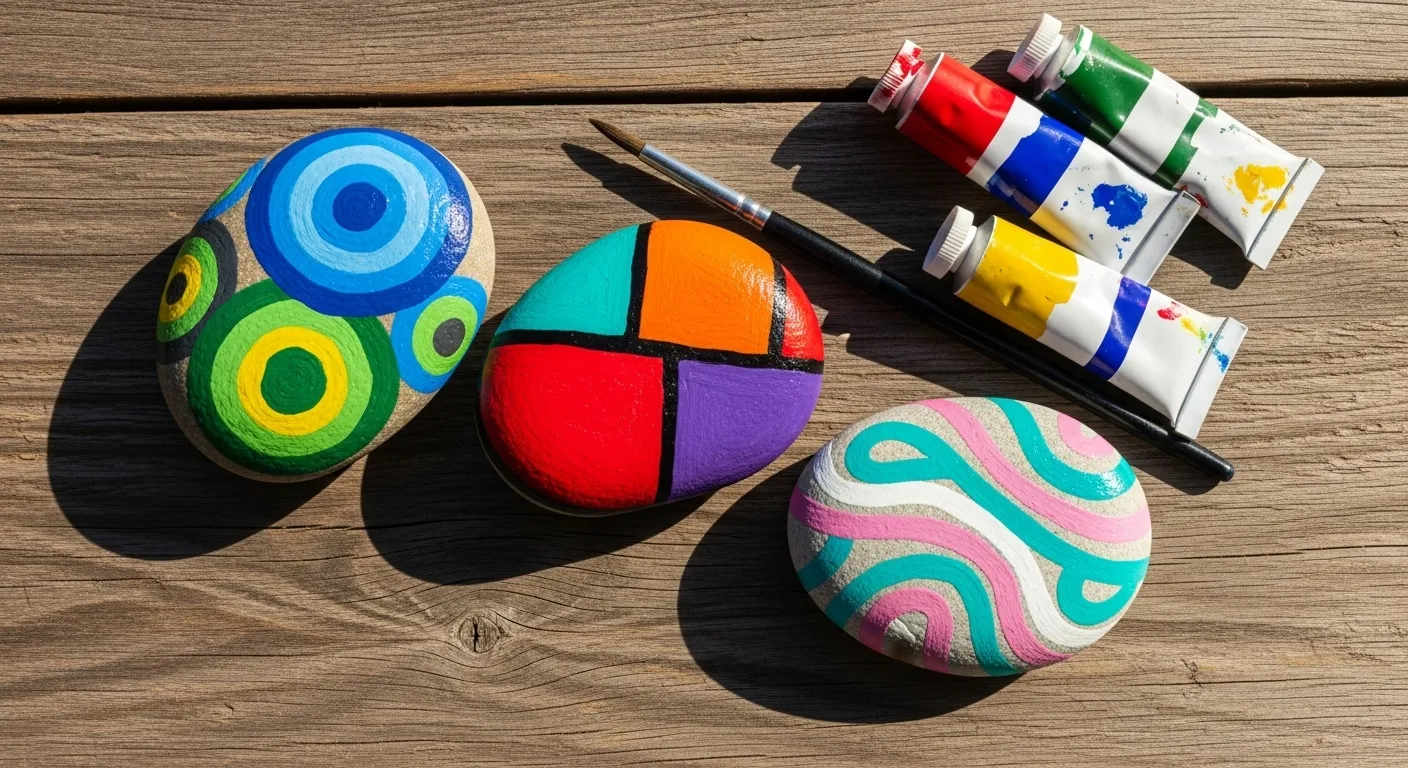
Paint and Decorate Kindness Rocks
The ‘Why’: This simple activity combines the gentle exercise of a walk with the joy of artistic expression. Creating and sharing “kindness rocks”—small, painted stones with uplifting messages—is a beautiful way to spread positivity in your community. It’s an incredibly low-cost hobby that gets you outdoors and connects you with others, even from a distance. These make wonderful, personal gifts for grandchildren, friends, and neighbors.
The ‘How’ (or ‘Getting Started’):
- Gather Your Canvases: The first step is the most fun! Take a walk around your neighborhood, a local park, or a nearby beach to find smooth, flat rocks. Look for ones that are about the size of your palm.
- Prep Your Rocks: Once you have a small collection, bring them home and give them a good scrub with soap and water to remove any dirt. Let them dry completely in the sun.
- Time to Paint: Inexpensive acrylic craft paints are perfect for this project. You can find sets with a variety of colors at any dollar store or craft shop. Paint a solid base coat first, let it dry, and then add your design. Think simple: flowers, hearts, ladybugs, or just colorful abstract patterns.
- Add a Message: Use a permanent marker or a fine-tipped paintbrush to write a short, kind message like “You Matter,” “Smile,” or “Have a Great Day.”
- Seal the Deal: To protect your art from the weather, spray it with a clear acrylic sealer or brush on a coat of Mod Podge. This ensures your beautiful creation will last. Leave them in public places for others to find and enjoy!
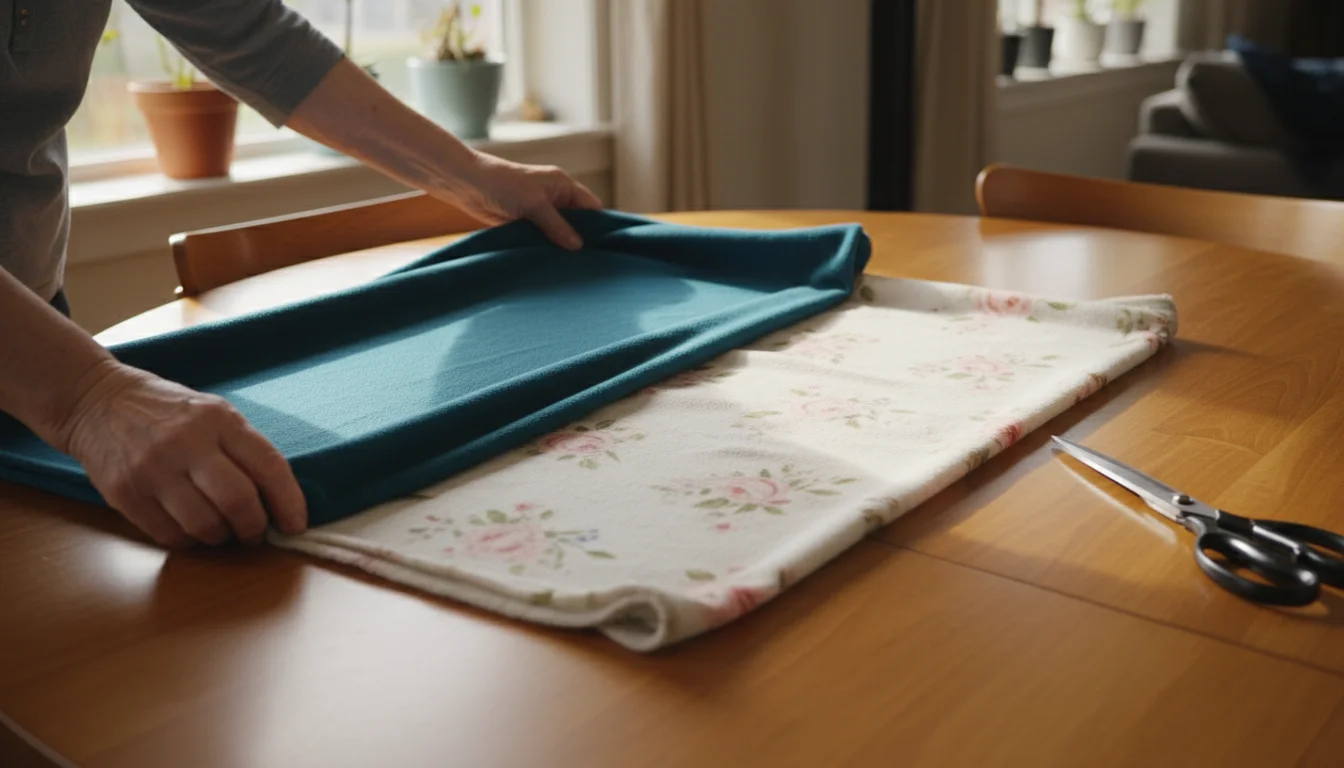
Create Cozy No-Sew Fleece Blankets
The ‘Why’: If you find knitting or crocheting difficult due to arthritis or hand pain, this is the perfect alternative. Making a no-sew fleece blanket requires no needles, no sewing machine, and no complex patterns. It’s one of the most forgiving and easy crafts for the elderly, resulting in a wonderfully soft, practical, and comforting blanket you can use yourself or give as a cherished gift.
The ‘How’ (or ‘Getting Started’):
- Select Your Fabric: You will need two pieces of fleece fabric of the same size. Craft stores often have sales on fleece, especially in fun patterns and colors. For a small lap blanket, one-and-a-half yards of each color is a great size.
- Prepare Your Workspace: Lay one piece of fleece on a large, flat surface like a dining table or a clean floor. Place the second piece directly on top, smoothing out any wrinkles so they are perfectly aligned.
- Cut the Corners: Using a sharp pair of scissors, cut a square (about 4 inches by 4 inches) from each of the four corners. You will be cutting through both layers of fabric at once.
- Create the Fringe: Now, begin cutting strips all the way around the four sides of the blanket. Each strip should be about one inch wide and four inches deep. Don’t worry about being perfectly precise!
- Tie the Knots: Once all your fringe is cut, start tying the top and bottom strips together. Take one top strip and its corresponding bottom strip and tie them into a simple double knot. Continue this all the way around the blanket. It’s a repetitive, relaxing motion that you can do while watching television or listening to music.
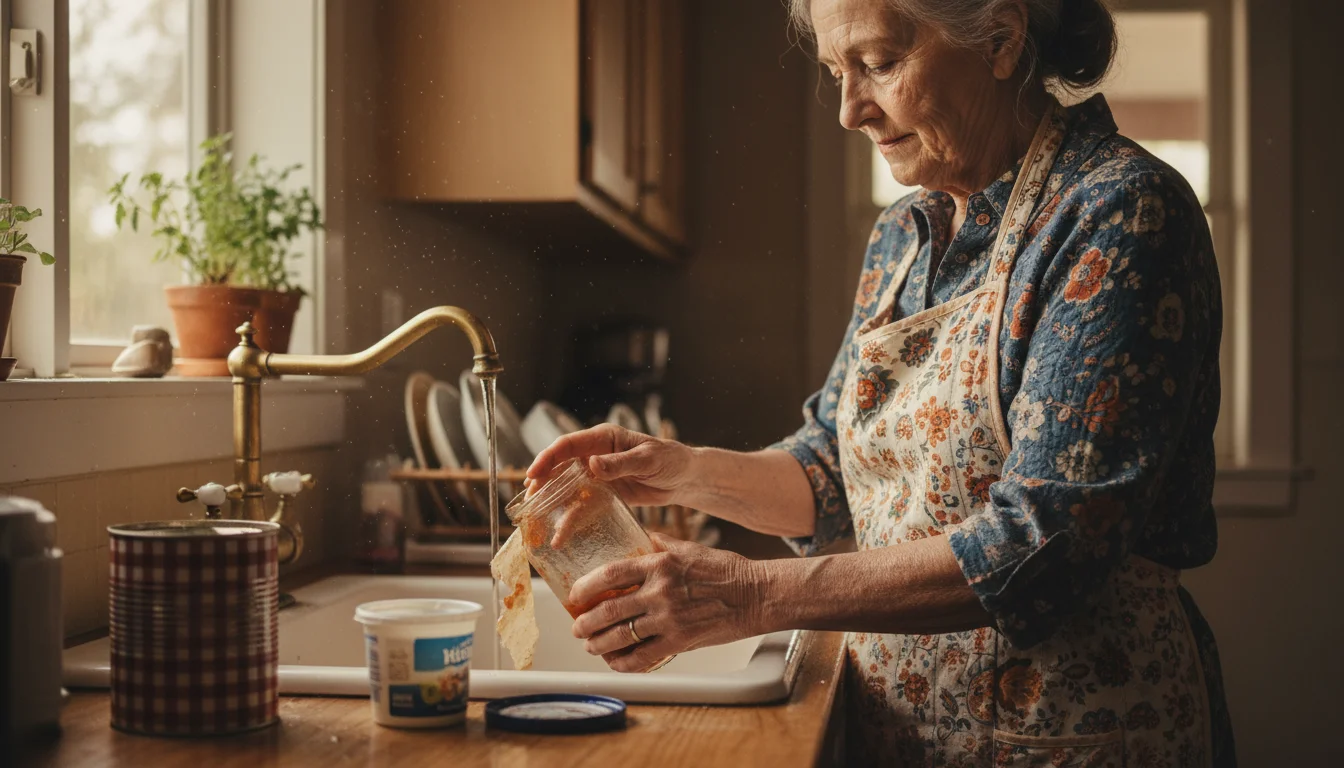
Upcycle Jars, Cans, and Containers
The ‘Why’: Before you toss that empty coffee can or spaghetti sauce jar into the recycling bin, see it as a blank canvas! Upcycling is a fantastic way to practice resourcefulness, reduce waste, and create functional art for your home. This is a classic example of a DIY crafts seniors project that costs virtually nothing and helps you organize your space with a personal touch.
The ‘How’ (or ‘Getting Started’):
- Collect Your Containers: Start saving glass jars, tin cans, plastic containers, and even cardboard oatmeal tubes.
- Clean and Prep: Wash your containers thoroughly and remove any labels. For stubborn labels on glass jars, soaking them in hot, soapy water often works. A little bit of cooking oil can help remove any sticky residue left behind.
- Decorate: The possibilities are endless. You can paint the containers with acrylic paint (chalk paint gives a lovely rustic finish on glass and metal). You can also wrap them in leftover fabric, decorative paper, twine, or yarn, securing it with a hot glue gun or craft glue.
- Give Them a Purpose: A decorated tin can becomes a cheerful pencil holder. A painted glass jar makes a beautiful vase for flowers from your garden. Larger containers are perfect for organizing kitchen utensils, craft supplies, or small tools.
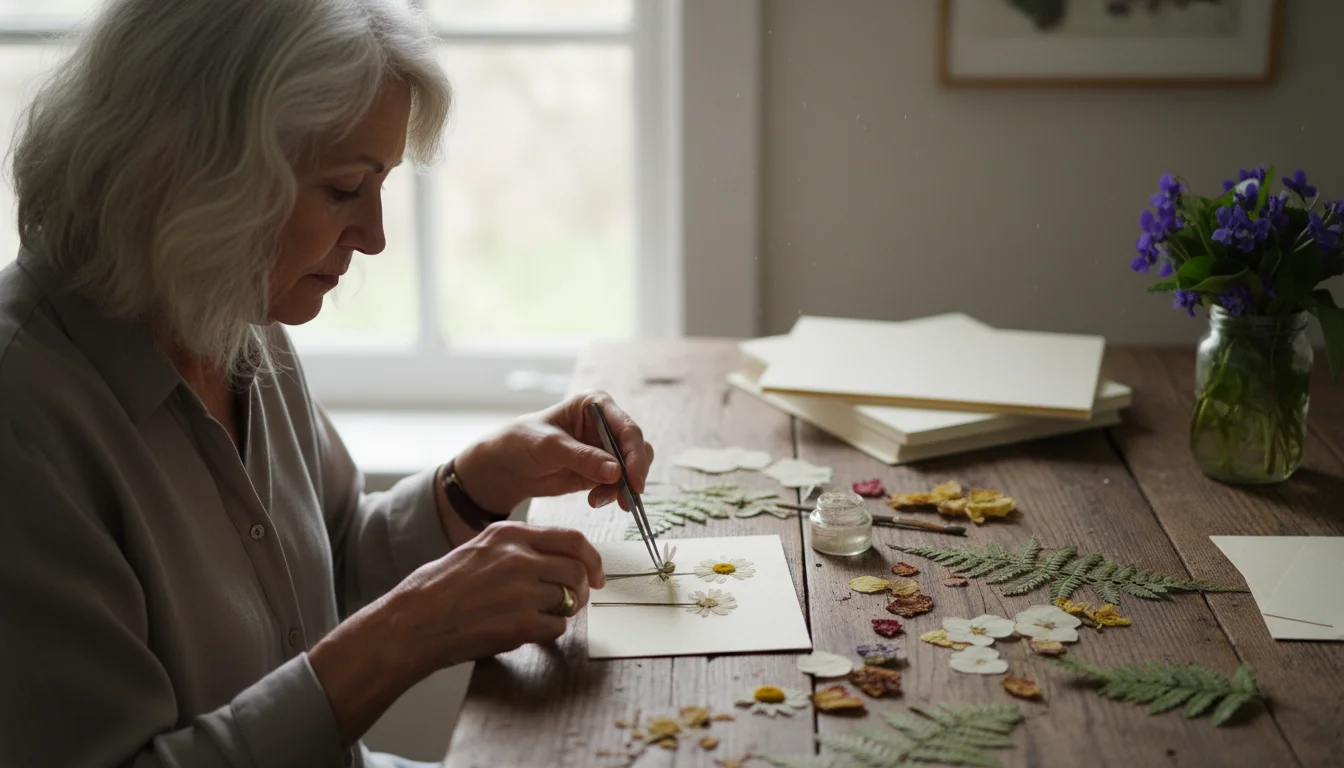
Design Art with Pressed Flowers
The ‘Why’: This delicate and timeless craft allows you to preserve the beauty of nature. It’s a peaceful, meditative activity that encourages you to slow down and appreciate the small details of a flower or leaf. The final products are elegant and can be used to create one-of-a-kind greeting cards, bookmarks, or framed art that bring a touch of the outdoors inside.
The ‘How’ (or ‘Getting Started’):
- Gather Your Botanicals: Collect flowers and leaves from your garden or on a walk. Flowers that are naturally flat, like violets, daisies, and ferns, work best. Avoid very thick flowers like roses or carnations for your first attempt.
- Press Them: The traditional method is simple and effective. Place your flowers between two sheets of absorbent paper (like parchment paper or newspaper) and place them inside the pages of a heavy book, like a phone book or encyclopedia. Stack a few more heavy books on top for weight.
- Be Patient: This is the hardest part! The flowers will need to be pressed for two to four weeks to dry out completely.
- Create Your Artwork: Once dried, your flowers will be very delicate. Use a pair of tweezers to carefully handle them. Arrange them on a piece of cardstock or quality paper. Use a small paintbrush to apply a tiny dot of clear-drying craft glue to the back of the flower and gently press it into place. You can frame your creation or laminate it to make a beautiful bookmark.
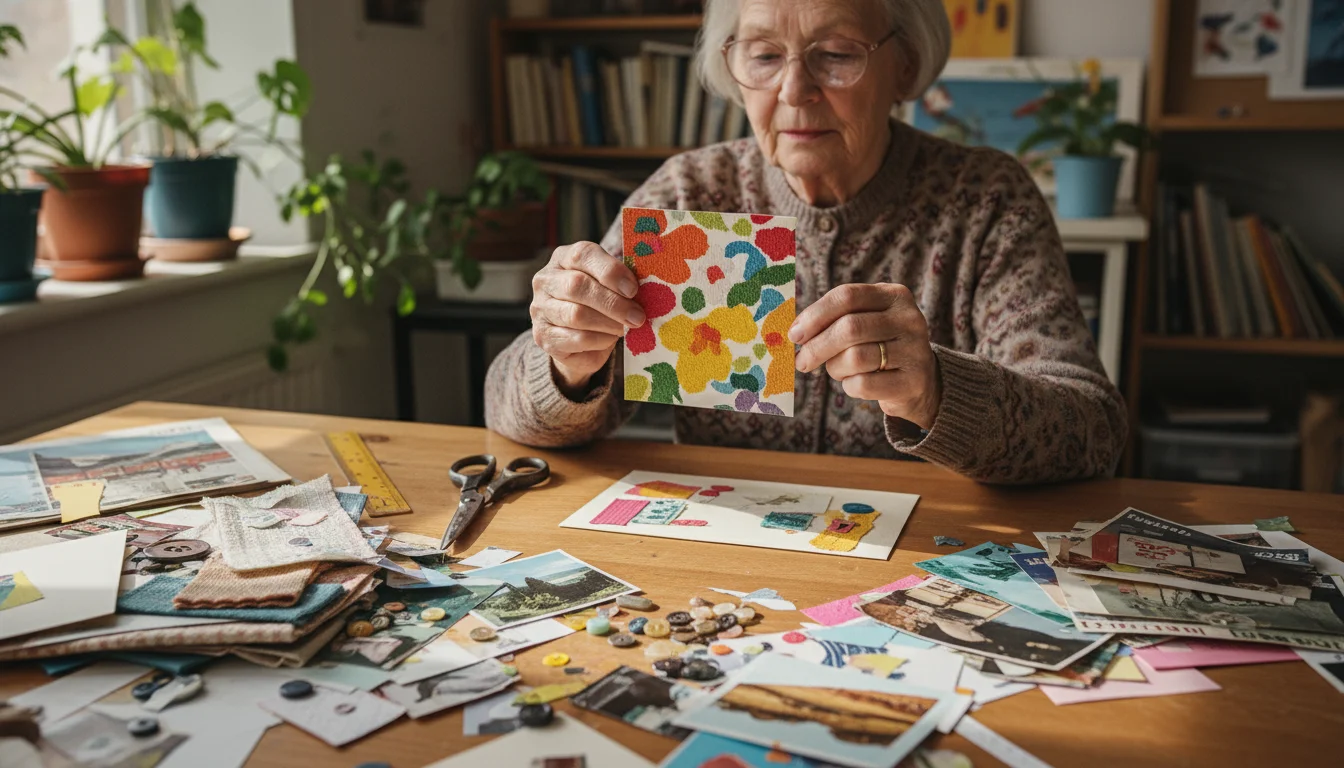
Craft Personalized Greeting Cards
The ‘Why’: In a digital world, receiving a handmade card in the mail is a truly special gesture. Making your own cards is not only a fantastic budget-friendly craft, but it’s also a heartfelt way to stay connected with family and friends. It allows you to tailor each card to the recipient, making birthdays, holidays, and “just because” moments even more meaningful.
The ‘How’ (or ‘Getting Started’):
- Gather Your Base: Blank cards and envelopes are inexpensive at craft stores, but you can easily make your own by folding pieces of cardstock in half.
- Raid Your Recycling Bin: The beauty of this craft is in using what you have. Look for old magazines with interesting images, last year’s greeting cards or calendars, scraps of wrapping paper, fabric swatches, or even security envelopes with pretty patterns inside.
- Assemble Your Supplies: You’ll need a pair of scissors and a glue stick. Other fun additions include buttons, ribbons, stickers, or a bit of glitter.
- Design and Create: There are no rules here! Cut out pictures, shapes, or letters. Create a collage, a simple design, or a funny scene. Glue a pretty piece of fabric or paper as a background. Add a button as the center of a drawn flower. Let your imagination guide you.
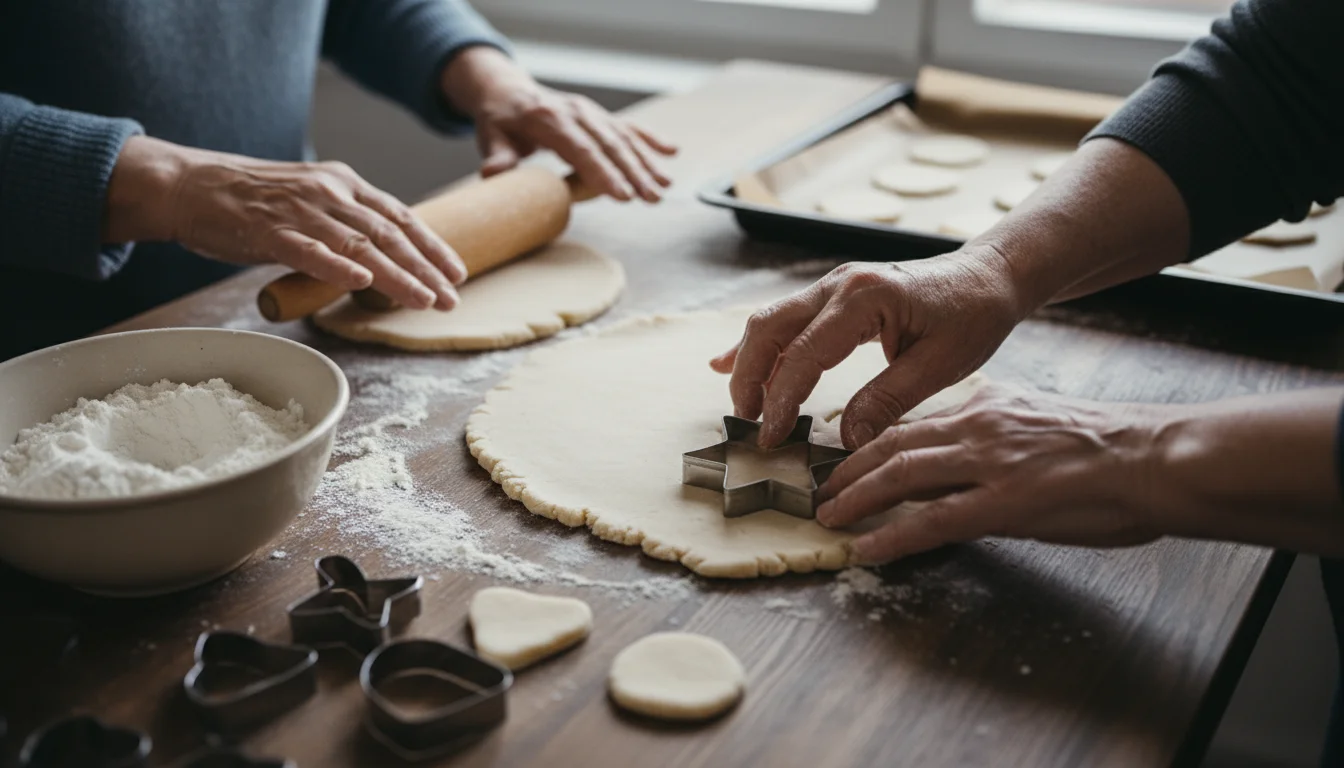
Shape and Bake Salt Dough Ornaments
The ‘Why’: This is a wonderfully nostalgic craft that you may remember doing with your own children or grandchildren. The ingredients are simple kitchen staples, making it one of the most affordable senior crafts available. It’s a tactile and forgiving medium, perfect for creating everything from holiday ornaments to decorative magnets and small trinkets.
The ‘How’ (or ‘Getting Started’):
- Make the Dough: In a large bowl, mix 2 cups of all-purpose flour, 1 cup of table salt, and 1 cup of warm water. Knead the mixture with your hands for about 10 minutes until it forms a smooth, pliable dough. If it’s too sticky, add a little more flour.
- Shape Your Creations: On a floured surface, roll out the dough to about a quarter-inch thickness. Use cookie cutters to make shapes, or sculpt your own creations by hand. If you plan to hang your creation as an ornament, be sure to poke a hole in the top with a straw or skewer before baking.
- Bake to Harden: Place your creations on a baking sheet and bake in a preheated oven at a very low temperature, around 250°F (120°C), for about 2-3 hours, or until they are completely hard and dry. The exact time will depend on the thickness of your pieces.
- Decorate: Let the ornaments cool completely. Once cool, you can paint them with acrylic paints and, if you like, add a coat of clear varnish or Mod Podge to seal and protect them.
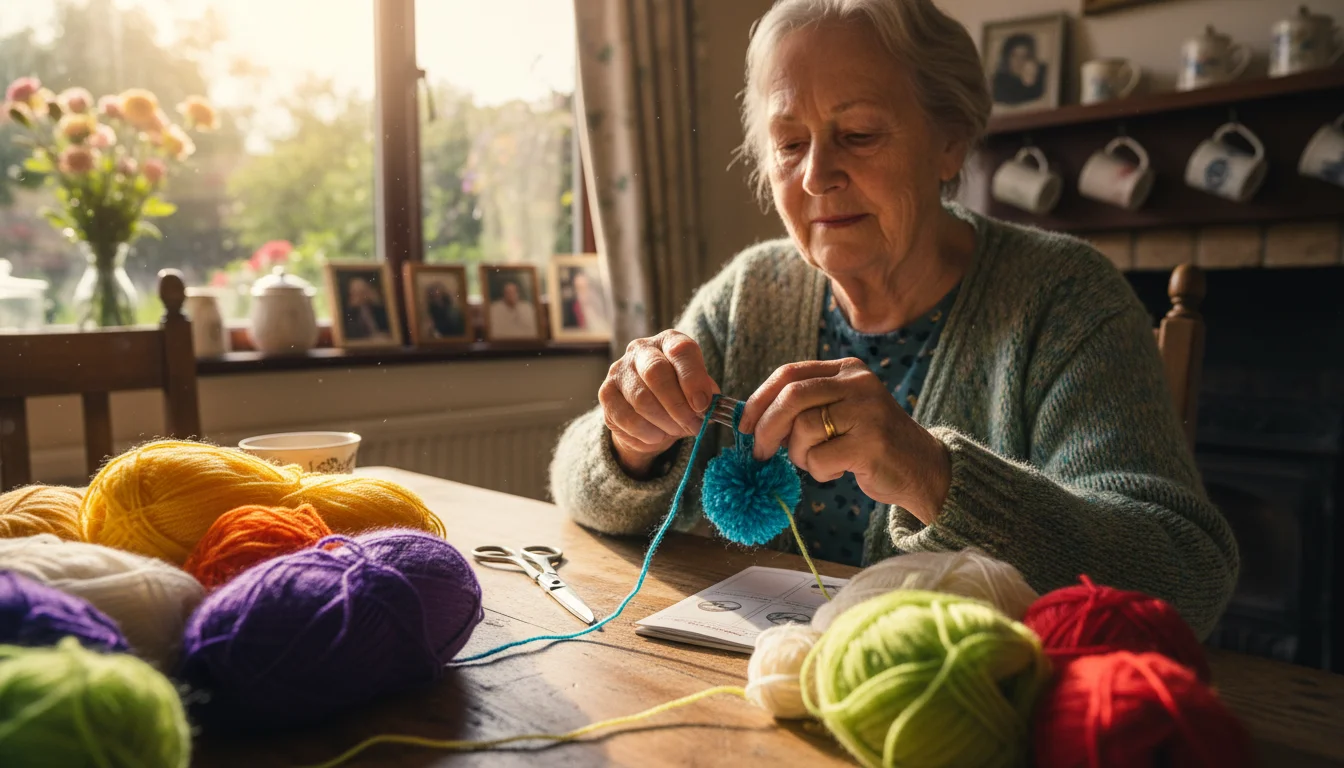
Explore Simple Yarn Crafts (No Knitting Needed!)
The ‘Why’: Do you have a bag of leftover yarn from old projects? Put it to good use with these easy and colorful crafts that don’t require knitting needles or crochet hooks. These are excellent senior creative activities for improving dexterity and creating cheerful decor for your home or as gifts.
The ‘How’ (or ‘Getting Started’):
- Make Fluffy Pom-Poms: The easiest way is the fork method. Tightly wrap yarn around the tines of a regular dinner fork. After wrapping a good amount, slide a separate 6-inch piece of yarn through the middle tine, wrap it around the bundle, and tie a very tight knot. Slide the bundle off the fork and snip through all the loops. Fluff it up and trim it into a neat sphere.
- Create a Yarn-Wrapped Wreath: Purchase an inexpensive foam wreath form from a dollar or craft store (or cut a circle from a sturdy piece of cardboard). Tie the end of your yarn to the form and simply start wrapping the yarn around and around until the entire form is covered. You can use one color or switch colors to create stripes. Hot glue pom-poms or silk flowers to the wreath for extra flair.
- Design Yarn-Wrapped Letters: Buy large cardboard or wood letters from a craft store. Just like the wreath, wrap them tightly in your favorite color yarn for a personalized piece of home decor.
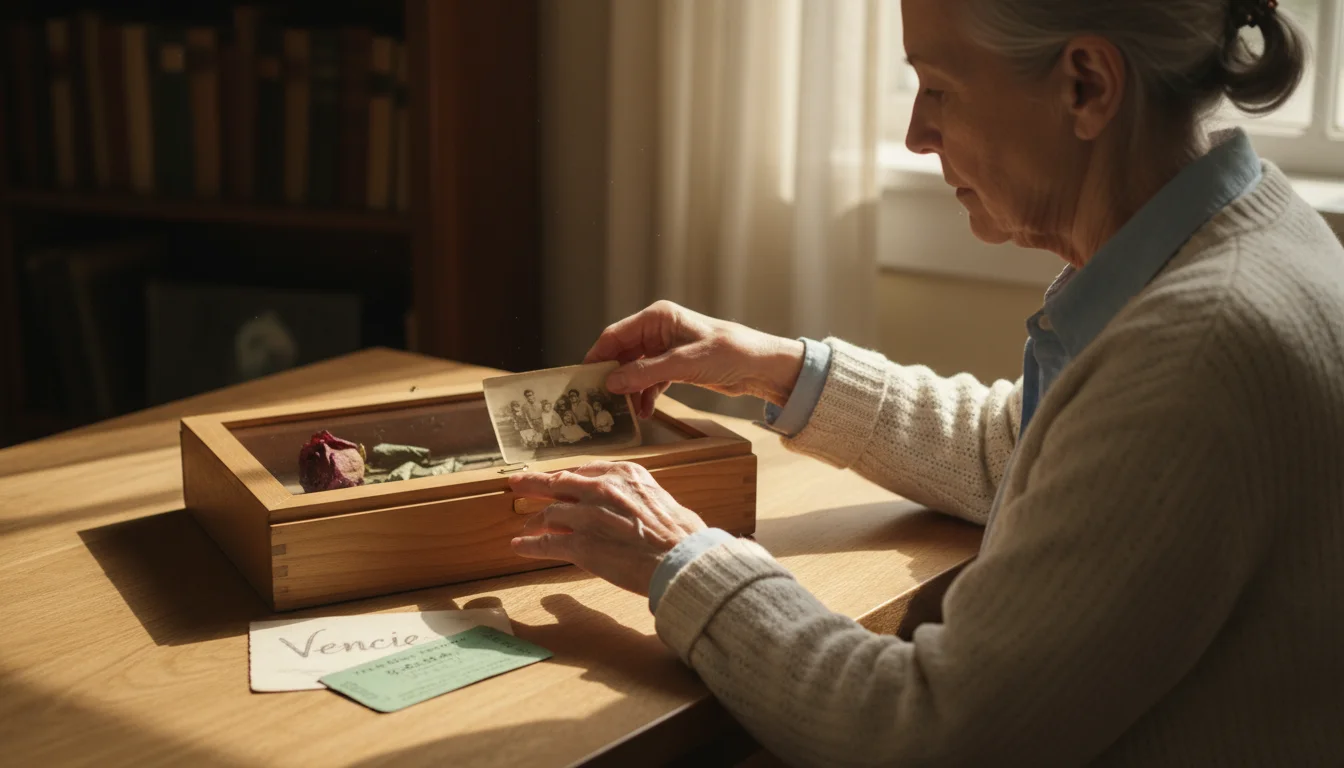
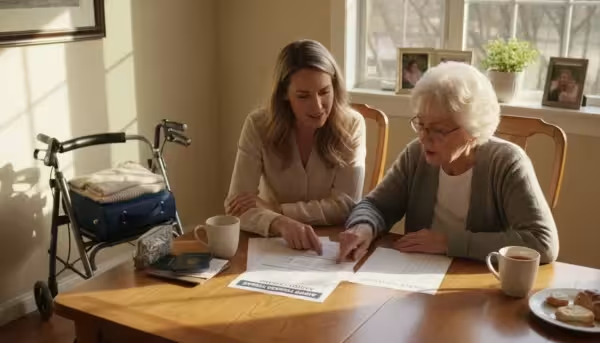
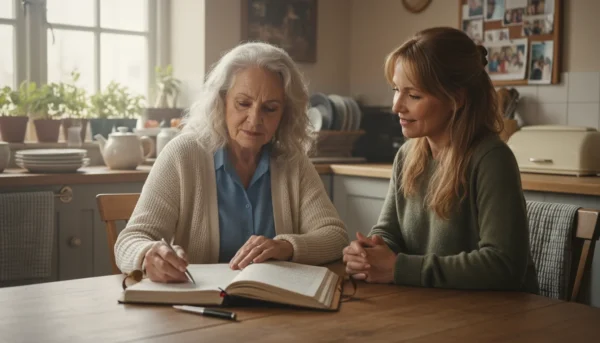
Assemble a Personal Memory Shadow Box
The ‘Why’: This is more than just a craft; it’s a beautiful exercise in storytelling and reminiscence. A memory box allows you to gather and display treasured mementos that tell a story about your life, a special trip, or a loved one. It’s a deeply personal and meaningful project that costs very little to make and becomes a priceless family heirloom.
The ‘How’ (or ‘Getting Started’):
- Find Your Box: A shadow box is essentially a deep picture frame. You can find them at craft stores, but you can also use any sturdy, shallow box with a lid you can remove or prop open.
- Gather Your Treasures: This is the most enjoyable part. Search your home for small, meaningful objects. Think old photographs, ticket stubs from a concert or movie, a dried flower from a special occasion, a piece of jewelry, a military medal, a baby’s first shoe, or a favorite recipe card written in a loved one’s hand.
- Create a Background: Line the back of the box with a piece of scrapbook paper, fabric, or even a map from a memorable vacation.
- Arrange Your Display: Lay out your items in the box, moving them around until you find an arrangement that you love. Use straight pins to attach fabric items and small dabs of hot glue or strong craft glue to secure heavier objects in place. The result is a beautiful, three-dimensional scrapbook of your life.
Engaging in DIY crafts for seniors is about so much more than just making things. It’s about the peaceful moments of focus, the pride in creating something with your own hands, and the joy of sharing your creations with others. Pick one idea that sparks your interest, gather a few simple supplies, and allow yourself the pleasure of making something new today.
For expert guidance on senior health and finance, visit Centers for Disease Control and Prevention (CDC), Medicare.gov and National Institute of Mental Health (NIMH).
|
Fact-Checked Content
Our editorial team reviews all content for accuracy and updates it regularly. Learn about our editorial process →
|