
Introduction: Prioritizing Your Health with an Emergency Kit
As we age, maintaining our independence and ensuring our safety become top priorities. We take steps to make our homes safer, stay on top of our health with regular doctor visits, and connect with loved ones. One of the most empowering steps you can take for your well-being is preparing for the unexpected. Whether it’s a power outage, a severe storm, or a personal health event, having a well-stocked emergency preparedness kit can provide immense peace of mind and security.
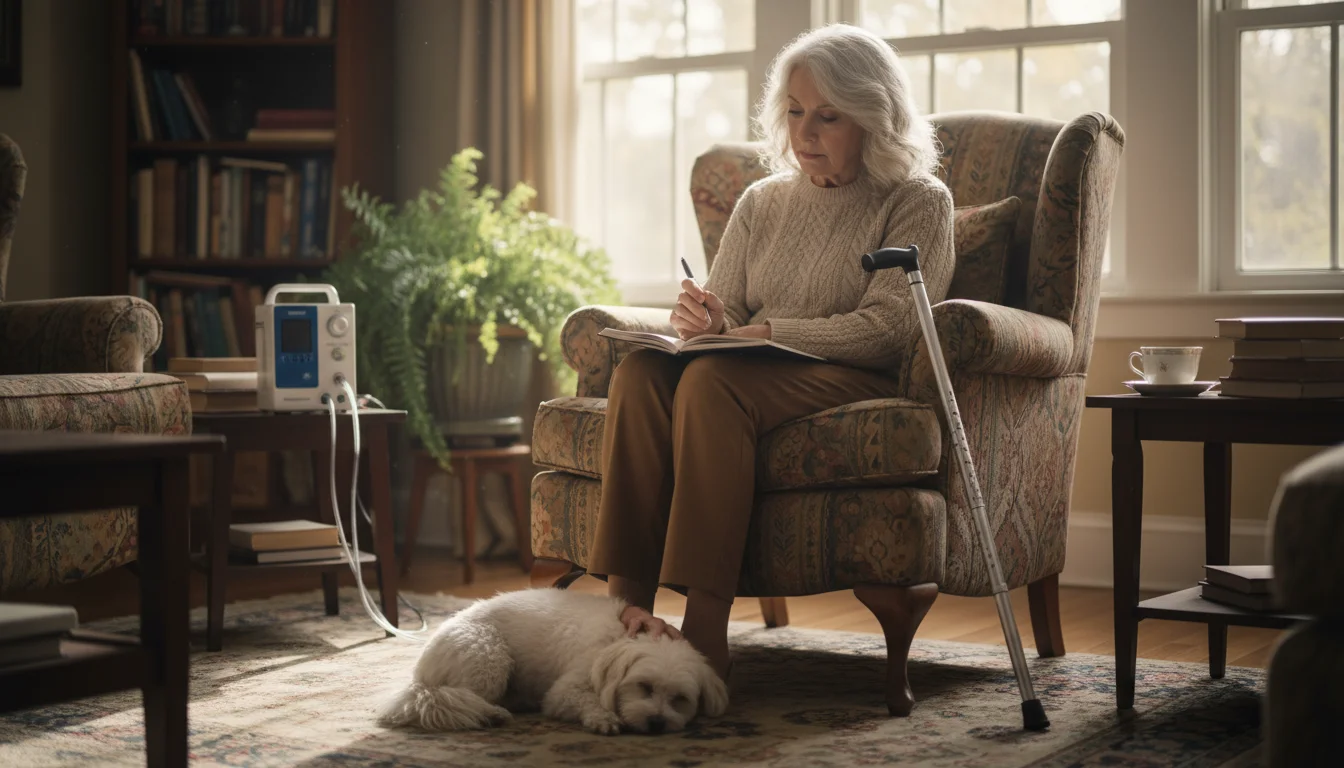
Building a senior emergency preparedness kit is not about dwelling on worst-case scenarios; it’s about taking control and ensuring you have everything you need to stay safe, healthy, and comfortable if your normal routine is disrupted. For older adults, especially those managing chronic health conditions or living with limited mobility, a personalized kit is not just a convenience—it’s a critical component of your overall health and safety plan. This guide will walk you through, step by step, how to assemble a kit tailored to your specific needs, helping you feel more secure and prepared for whatever comes your way.
Understanding the Health Benefits (and Any Risks) of Being Prepared
The primary benefit of creating an emergency kit is, of course, safety. During an unexpected event, you will have immediate access to life-sustaining supplies like water, food, and essential medications. This immediate access can prevent a minor disruption from turning into a major health crisis. For seniors managing conditions like diabetes, heart disease, or respiratory issues, having uninterrupted access to medications, monitoring equipment, and specific dietary items is crucial.
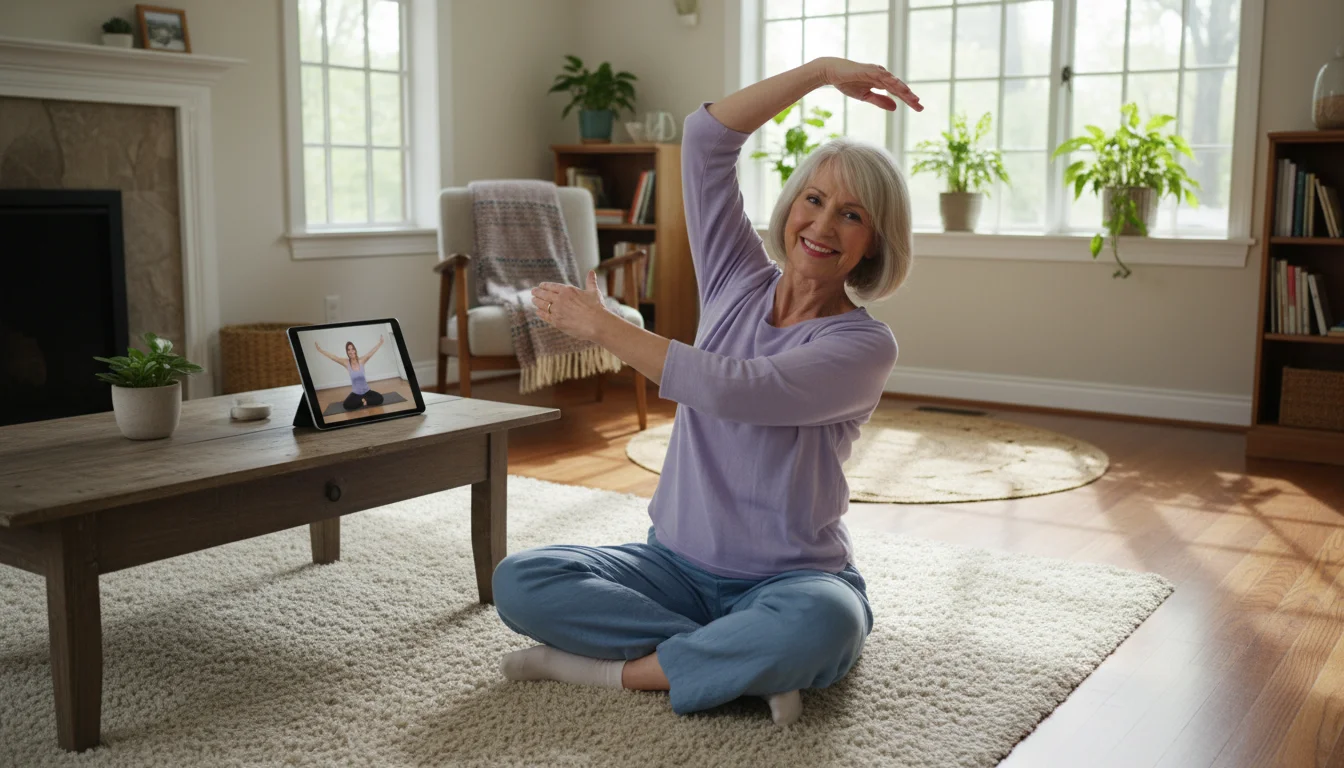
Beyond the physical benefits, the positive impact on mental and emotional health is significant. The act of preparing can reduce anxiety and feelings of helplessness. Knowing you have a plan and the resources to handle a challenging situation fosters a sense of control and resilience. This kind of proactive safety planning can be incredibly empowering. It allows you to focus on your well-being rather than worrying about what might happen. According to the National Institute of Mental Health (NIMH), feeling prepared can be a powerful tool in managing stress and anxiety.
Are there risks involved? The main risk is not in having a kit, but in having an outdated or incomplete one. A kit with expired food, dead batteries, or an insufficient supply of your current medications can provide a false sense of security. The other potential risk involves medication storage. Some medications are sensitive to temperature and light, so it’s important to know how to store them properly within your kit. We will address how to manage these risks by creating a simple maintenance schedule, ensuring your kit is always ready when you need it.
A Step-by-Step Guide to Building Your Kit Safely
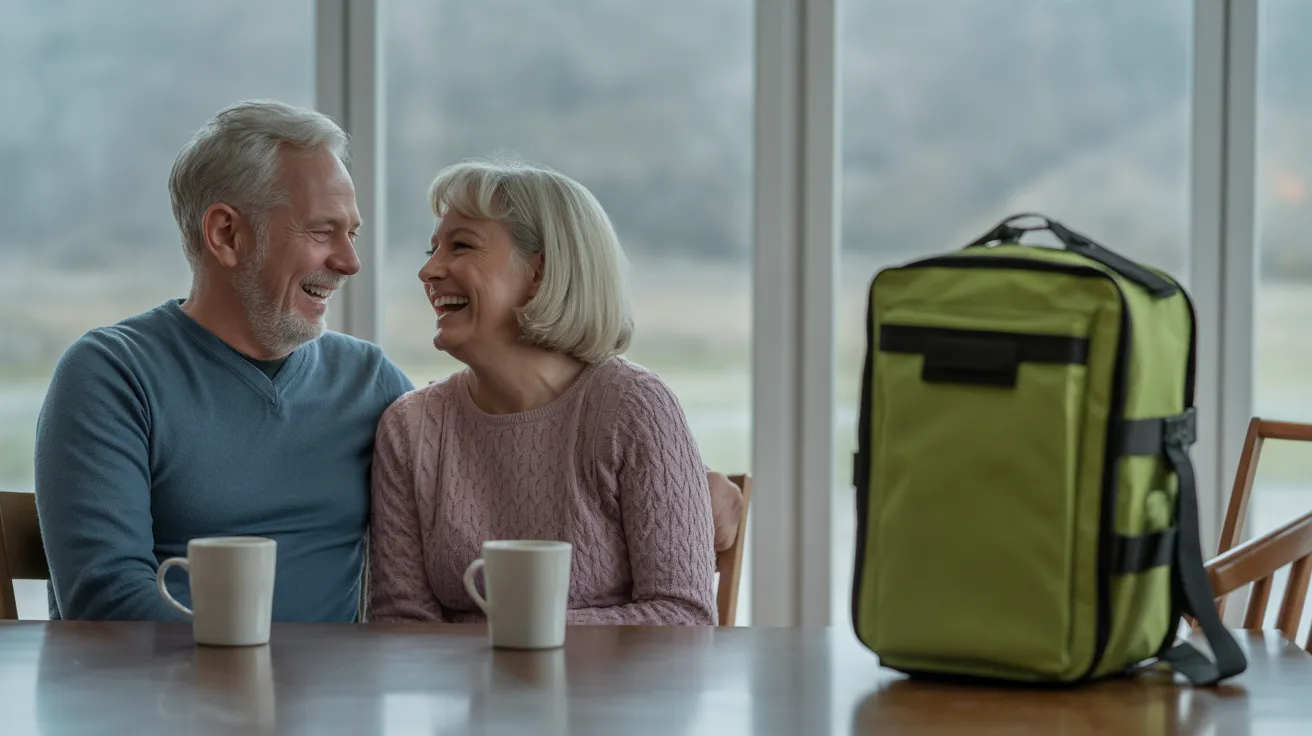
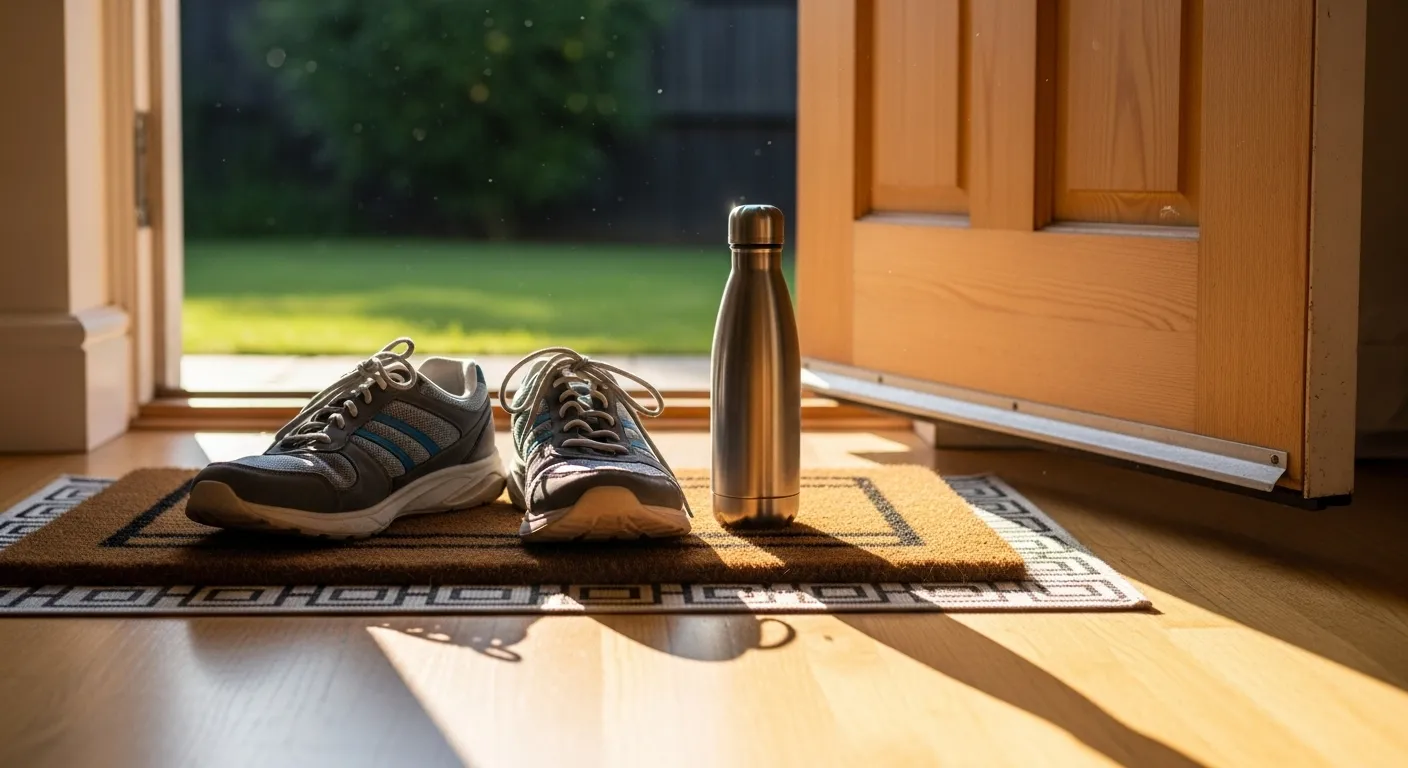
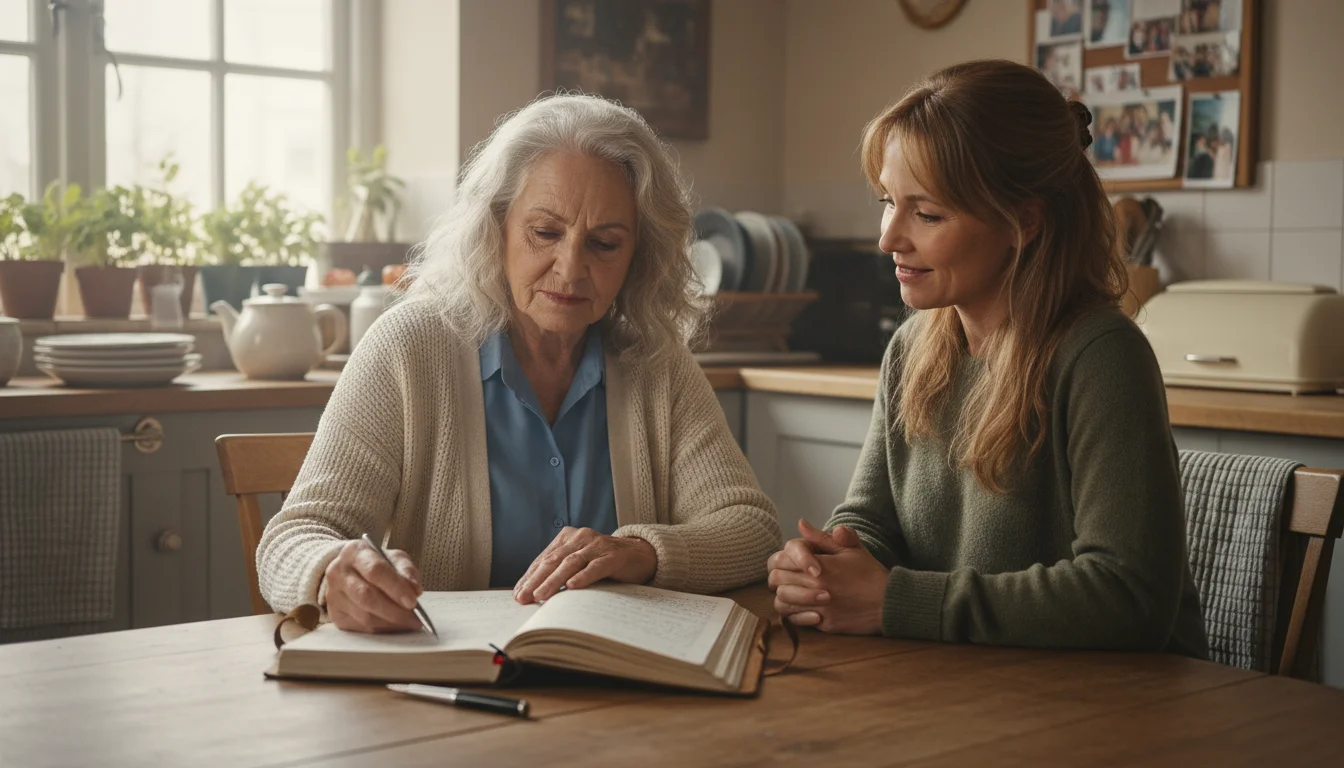
Building your kit should be a calm and methodical process. You don’t need to do it all in one day. Gather items over time and involve a family member or caregiver if you wish. The goal is to create at least two kits: a larger one for sheltering in place at home and a smaller, portable “go-bag” in case you need to evacuate. Store your main kit in an easily accessible location, like a hall closet or a sturdy plastic bin in the garage.
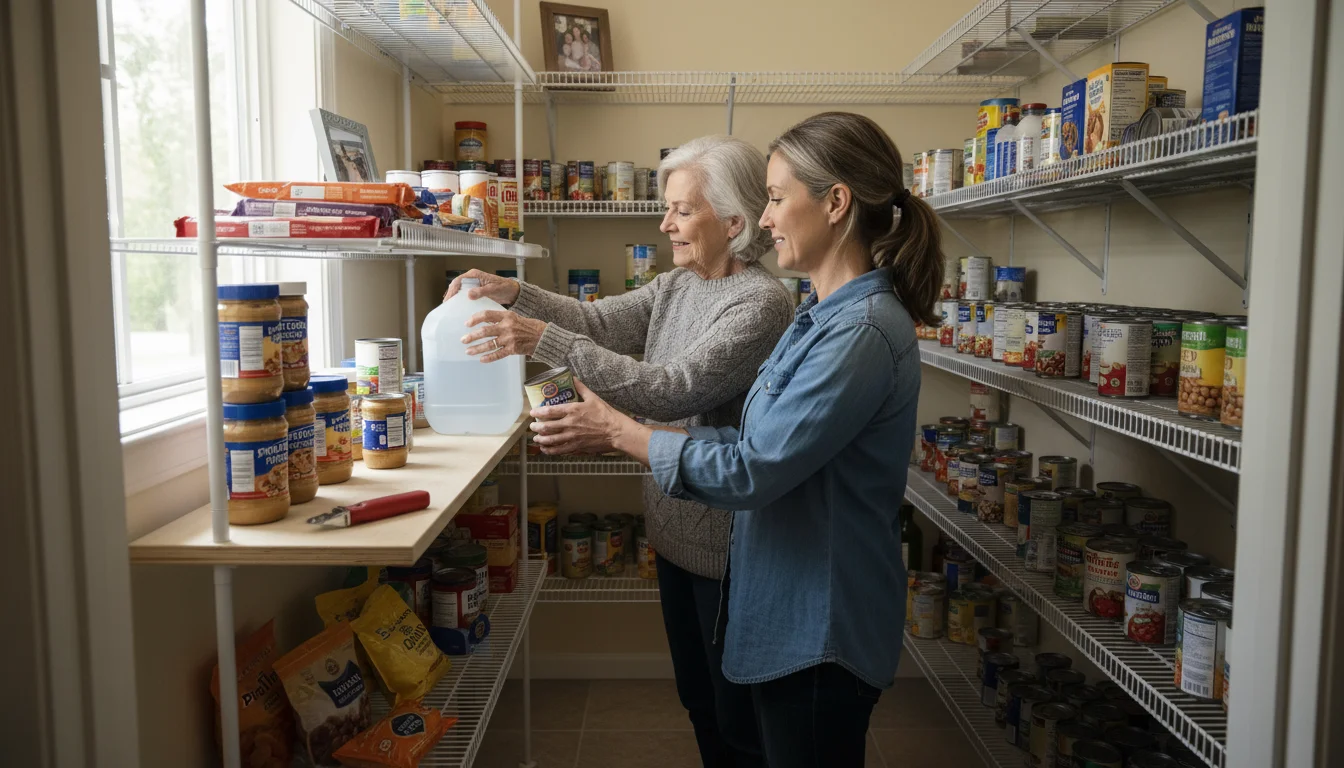
1. Water and Food: The Essentials for Sustenance
Water is the most important item in your kit. The general recommendation is to store one gallon of water per person, per day. Aim for a supply that will last at least three days, though a one-week supply is even better. Store commercially bottled water, as it is safe and easy to manage. Remember to check the expiration dates.
For food, focus on non-perishable items that you enjoy and that meet your dietary needs. Canned goods, dried fruit, protein bars, and peanut butter are excellent choices. Make sure you have a manual can opener. Think about items that require no cooking or refrigeration.
- Checklist:
- Water (1 gallon per person, per day, for 3-7 days)
- Non-perishable food (3-7 day supply)
- Manual can opener
- Easy-to-prepare items (soups, canned tuna, crackers)
- Foods that accommodate special diets (low-sodium, diabetic-friendly, gluten-free)
- Disposable plates, cups, and utensils
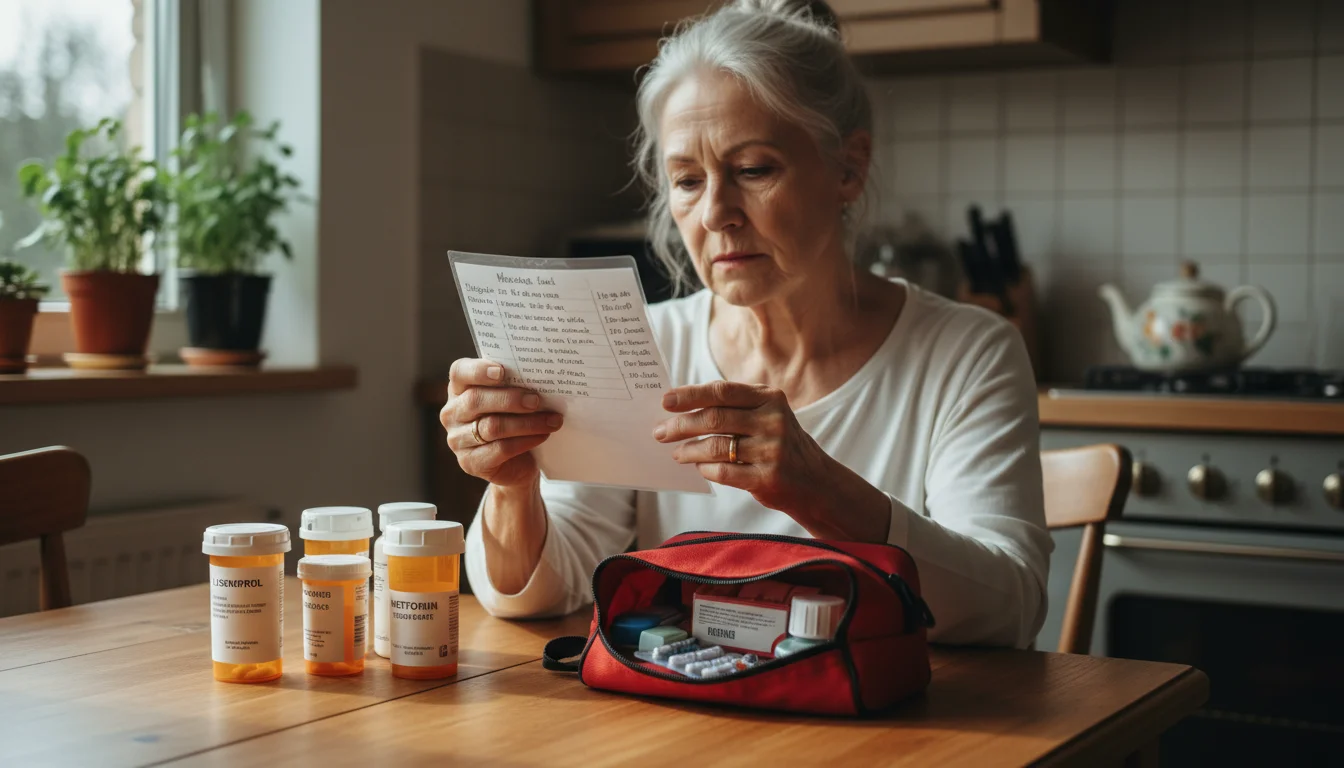
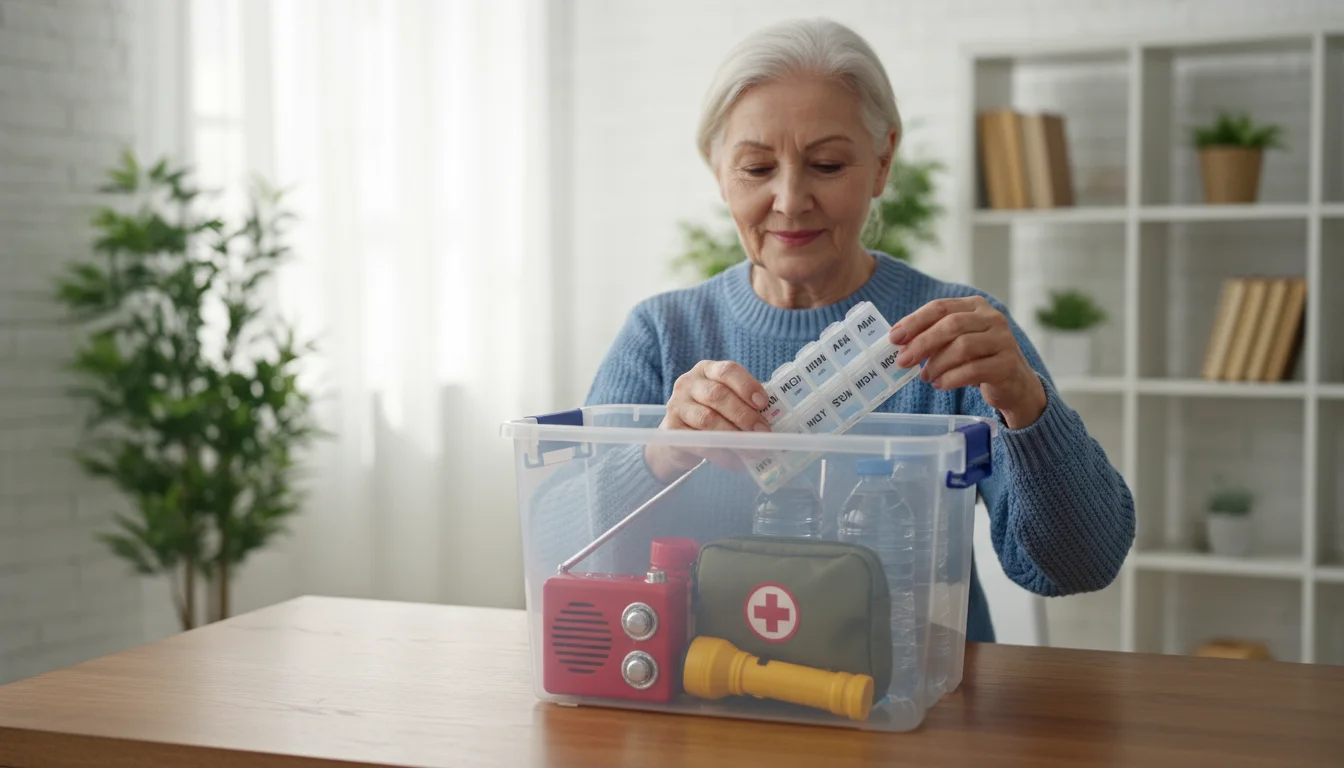
2. Medical and Health Supplies: Your Personal Lifeline
This is the most critical part of the kit for most seniors. Your health depends on consistent access to medications and medical equipment. It is essential to have at least a 7-day supply of all your necessary items, and a 14-day supply is ideal. Talk to your doctor or pharmacist about obtaining an extra supply of prescriptions for your kit.
- Checklist:
- Prescription Medications: A 7- to 14-day supply of all medications. Keep them in their original labeled bottles.
- Medication List: A waterproof list of all your medications, dosages, frequency, the prescribing doctor, and the reason for taking each one. Include any allergies.
- Over-the-Counter Items: Pain relievers (acetaminophen or ibuprofen), antacids, allergy medication, laxatives, and any other items you use regularly.
- Medical Equipment: Extra batteries for hearing aids, a backup pair of eyeglasses or contact lenses with solution, blood glucose monitoring strips, a blood pressure cuff, or any other necessary supplies.
- First-Aid Kit: A basic kit should include adhesive bandages of various sizes, antiseptic wipes, sterile gauze pads, adhesive tape, antibiotic ointment, and hydrocortisone cream.
Effective disaster readiness means planning for every health contingency. Reputable sources like the National Institute on Aging (NIA) provide comprehensive information on medication management for older adults, which can be helpful in this process.
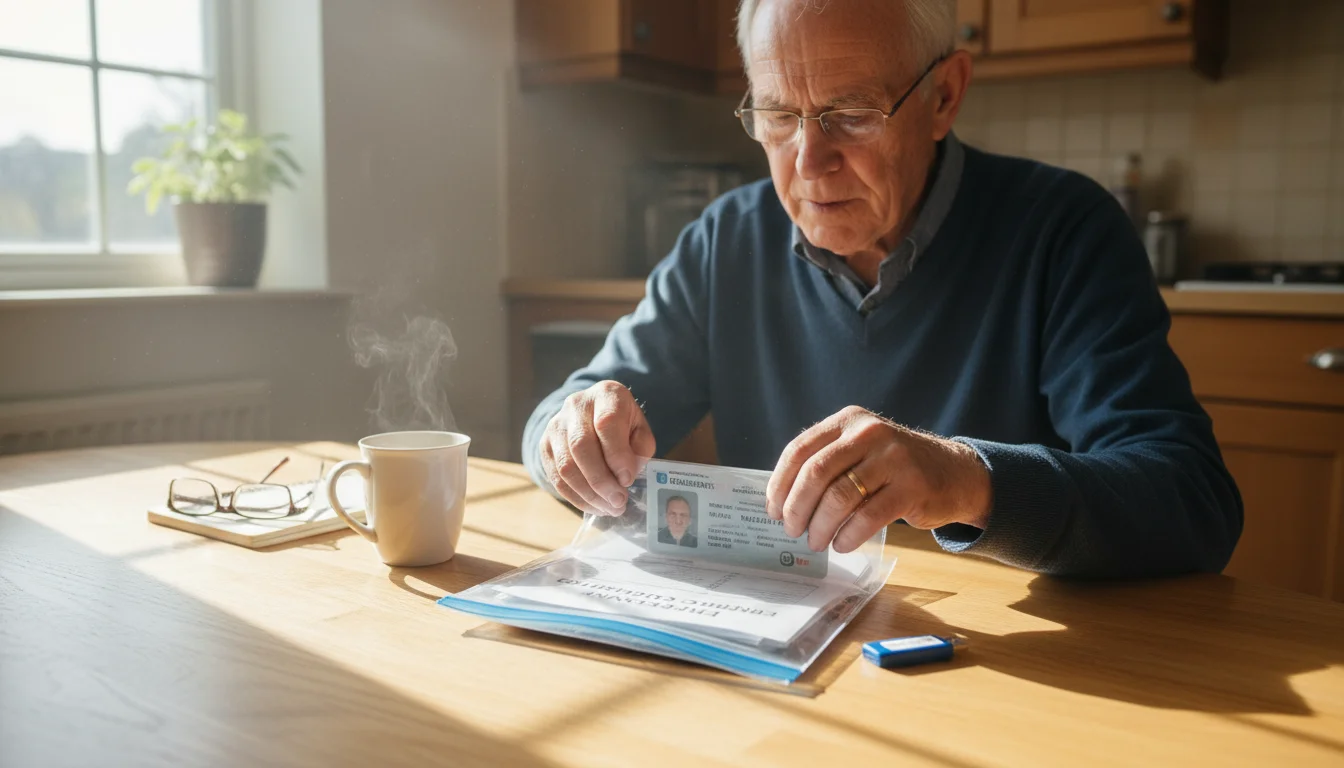
3. Important Documents and Information: Your Identity and Records
In an emergency, you may need to access important personal and financial information quickly. Having copies of these documents stored safely is a key part of senior home security and preparedness. Place paper copies in a waterproof, sealed bag. For an extra layer of security, you can also save digital copies to a password-protected USB flash drive.
- Checklist:
- Personal Identification: Copies of your driver’s license, passport, birth certificate, and Social Security card.
- Medical Information: Copies of your Medicare or health insurance cards, power of attorney for health care, and living will.
- Emergency Contacts: A physical list of phone numbers for family, friends, doctors, and caregivers. Do not rely solely on your cell phone’s contact list, as the battery may die.
- Financial Records: Copies of bank account statements, credit cards (front and back), and insurance policies.
- Household Information: Copies of deeds or leases to your home.
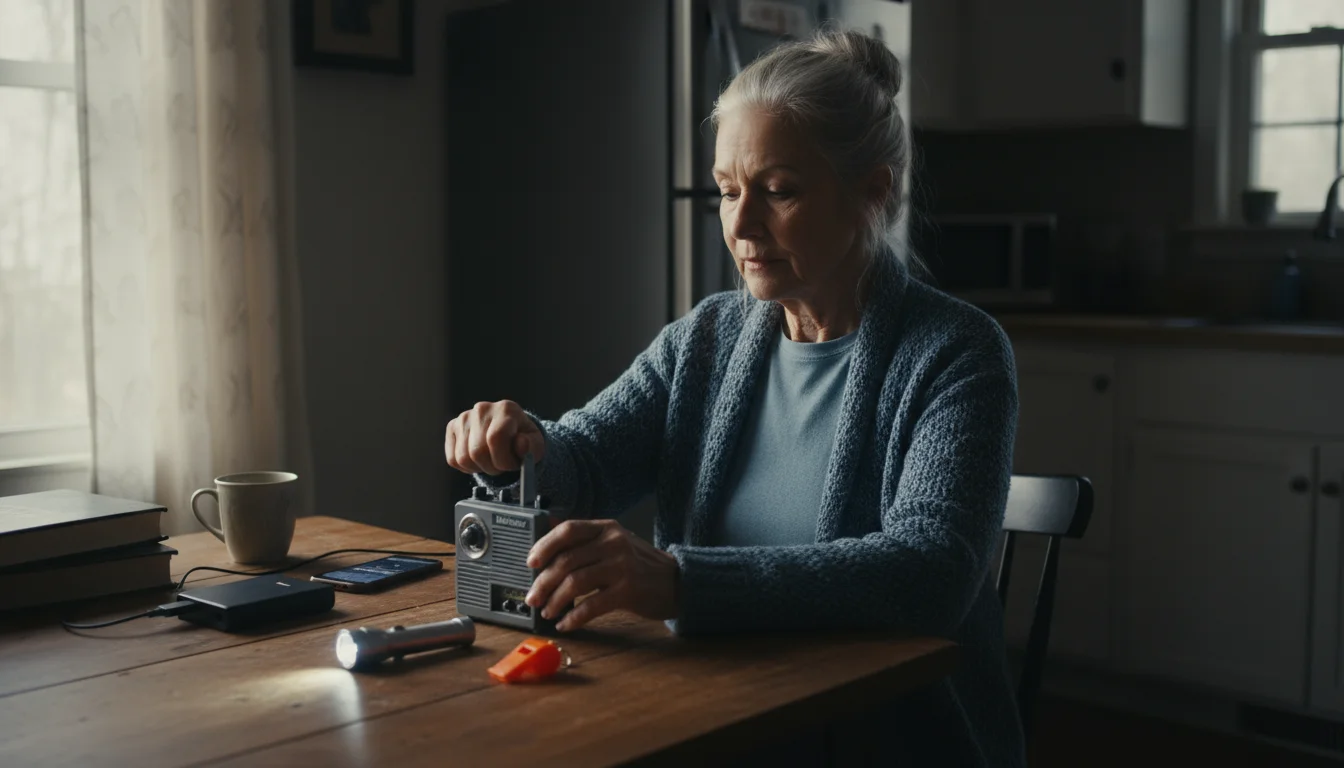
4. Communication, Light, and Power: Staying Connected and Safe
During a power outage or natural disaster, communication can be cut off. Having backup sources of light and information is essential for safety and morale.
- Checklist:
- Flashlight: A bright, easy-to-use flashlight with extra batteries. Store the batteries separately to prevent corrosion. A hand-crank flashlight is an excellent backup.
- Radio: A battery-powered or hand-crank NOAA Weather Radio to receive emergency alerts and updates.
- Cell Phone Charger: A fully charged power bank or a solar-powered charger for your mobile phone.
- Whistle: A whistle to signal for help if you are trapped or unable to call out.
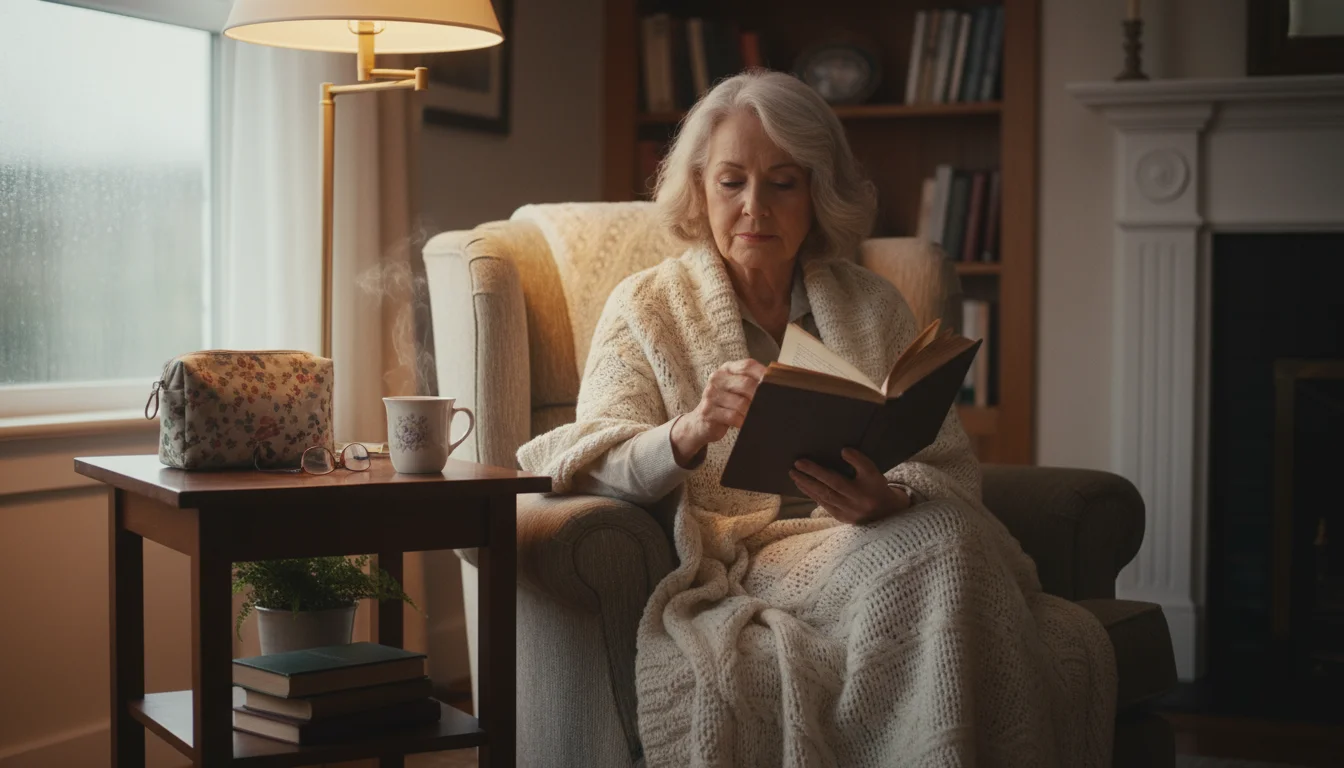
5. Personal Care and Comfort Items: Maintaining Well-being
Maintaining personal hygiene and a sense of normalcy can have a big impact on your mental state during a stressful time. Pack items that will help you stay clean and comfortable.
- Checklist:
- Hygiene Items: Toothbrush, toothpaste, soap, moist towelettes, hand sanitizer.
- Incontinence Supplies: If needed, pack an ample supply.
*Comfort Items: A warm blanket or sleeping bag, a change of comfortable clothes and sturdy shoes, and perhaps a book or deck of cards for entertainment.
6. Special Considerations for Unique Needs
Your kit should be as unique as you are. Think about your specific circumstances and add items accordingly.
- For Pet Owners: Pack a 3-7 day supply of pet food, water, any pet medications, and copies of vaccination records. Include a leash, collar with ID tags, and a carrier.
- For Those with Mobility Challenges: If you use a cane, walker, or wheelchair, ensure you have a plan for how to move with it during an emergency. Consider keeping a collapsible cane in your go-bag.
- For Those with Oxygen Tanks: Work with your medical supply company to understand your options during a power outage and to ensure you have backup tanks.

Key Signs It’s Time to Consult a Doctor
While building your emergency kit is something you can largely do on your own, your healthcare provider is a vital partner in your safety planning. It is essential to consult your doctor, pharmacist, or specialist in several key situations to ensure your kit is both safe and effective for your personal health needs.
Seek professional advice if:
- You need extra prescriptions. Many insurance plans limit refills. Your doctor may need to provide a special authorization to your pharmacy to allow you to get an extra 7- to 14-day supply for your kit. Do not wait until an emergency is imminent to ask for this.
- You take temperature-sensitive medication. If you use insulin, certain eye drops, or other medications that require refrigeration, you must speak with your doctor or pharmacist about how to safely store them in an emergency. They can advise you on insulated bags, cooling packs, and how long the medication will remain stable without refrigeration.
- You are unsure about over-the-counter medications. Before adding pain relievers, cold medicines, or other non-prescription items to your kit, confirm with your doctor that they will not interact negatively with your current prescriptions.
- You have complex medical needs. If you rely on electrically powered medical equipment, such as an oxygen concentrator or nebulizer, work with your doctor and medical supply company to create a detailed power outage plan. This may involve backup generators or battery systems.
- You are creating your medical information list. Ask your doctor’s office for a printout of your current health summary. This ensures your list of diagnoses, medications, and allergies is accurate and complete.
Your health is paramount. Never guess when it comes to medications or managing a chronic condition. A proactive conversation with your healthcare team is a critical step in effective disaster readiness.

Making It a Part of Your Routine: Maintaining Your Kit
An emergency kit is not a “set it and forget it” project. To be effective, it needs regular attention. A simple maintenance routine will ensure your supplies are always fresh, charged, and ready to go. Think of it as a small but important chore, like changing the filter in your furnace.
Here are some easy tips for making kit maintenance a regular habit:
- Schedule It: Pick two memorable dates each year to review your kit. Many people use the days they change their clocks for Daylight Saving Time in the spring and fall. Put a recurring reminder on your calendar or make a note on a physical one.
- Rotate Your Supplies: When you check your kit, look at the expiration dates on all food, water, and medications. Move any items that are nearing their expiration date into your pantry or medicine cabinet for regular use, and replace them with fresh items in your kit. This “first in, first out” system prevents waste and ensures everything is up-to-date.
- Test Your Equipment: Turn on your flashlight and radio to make sure they work. Replace the batteries every year, regardless of whether you’ve used them. If you have a power bank, charge it fully.
- Update Your Documents: Your health and personal information can change. At each check-in, review your list of medications and emergency contacts. If you have a new doctor, have been prescribed a new medication, or have a new grandchild to add to the contact list, update your documents.
- Re-evaluate Your Needs: As time goes on, your health needs may change. Perhaps you’ve started using a new medical device or have a new dietary restriction. Once a year, take a moment to think through your daily routine and consider if there is anything new you should add to your kit.
By making these simple steps a routine, you transform your emergency kit from a one-time project into a dynamic and reliable safety tool.

Frequently Asked Questions
How do I get extra prescription medication for my kit?
This is a very common and important question. Most health insurance plans, including Medicare Part D, have rules about how often you can refill a prescription. To get an extra supply for your kit, you will likely need to speak directly with your doctor. Explain that you are building an emergency preparedness kit and ask for a separate prescription for a 7- to 14-day supply. Your doctor can often provide an authorization for an early or extra refill for preparedness purposes. You can also ask your pharmacist for guidance, as they are very knowledgeable about insurance rules.
Where is the best place to store my emergency preparedness kit?
The ideal storage location is somewhere that is cool, dark, dry, and—most importantly—easy to get to. A hall closet, a pantry, or a sturdy, sealed container at the front of your garage are all good options. Avoid places with extreme temperature fluctuations, like an attic or an uninsulated shed, as this can degrade food, water, and medications. Your smaller “go-bag” should be kept somewhere you can grab it quickly, such as near the main exit of your home.
My mobility is limited. How should I adjust my safety planning?
If you have mobility challenges, your safety planning should include a few extra considerations. First, create a support network of family, friends, or neighbors who know your situation and can check on you during an emergency. Share a key with a trusted person. When building your kit, consider packing it in a rolling suitcase or a bag with wheels for easier transport. If you use a walker or wheelchair, keep your go-bag attached to it or stored very nearby. Finally, contact your local emergency management office. Many communities have a voluntary registry for individuals who may need extra assistance during an evacuation.
What if I rely on medical equipment that needs electricity?
This requires careful planning with your healthcare provider and medical supply company. For life-support equipment like an oxygen concentrator, you must have a backup plan. This often involves a backup power source, such as a generator or a deep-cycle battery system, and a supply of backup oxygen tanks. Inform your utility company that you have medical equipment that relies on electricity; they may prioritize your home for power restoration. The Centers for Disease Control and Prevention (CDC) offers resources for people with chronic conditions to help with emergency planning.
Does Medicare cover any costs associated with emergency preparedness?
Generally, Medicare does not cover the cost of supplies for an emergency kit, such as food, water, flashlights, or first-aid items. However, your Medicare Part D plan will cover its share of the cost for any extra prescription medications your doctor authorizes for your kit. Questions about specific coverage for medical equipment or supplies should be directed to your plan provider or by consulting the official government source at Medicare.gov.
Authoritative health information for seniors is provided by the National Institute on Aging (NIA) and the Centers for Disease Control and Prevention (CDC).
For insurance and medical coverage questions, refer to Medicare.gov. For mental health support, consult the National Institute of Mental Health (NIMH).
Disclaimer: This article is for informational purposes only and does not constitute medical advice. The content is not intended to be a substitute for professional medical advice, diagnosis, or treatment. Always seek the advice of your physician or other qualified health provider with any questions you may have regarding a medical condition.
|
Fact-Checked Content
Our editorial team reviews all content for accuracy and updates it regularly. Learn about our editorial process →
|


Leave a Reply